
Last updated September 21, 2026
Full 25-point door and opener safety check with every visit - springs, cables, rollers, tracks, and your LiftMaster or Chamberlain opener included
You get a price before we start. It does not change when the truck arrives.

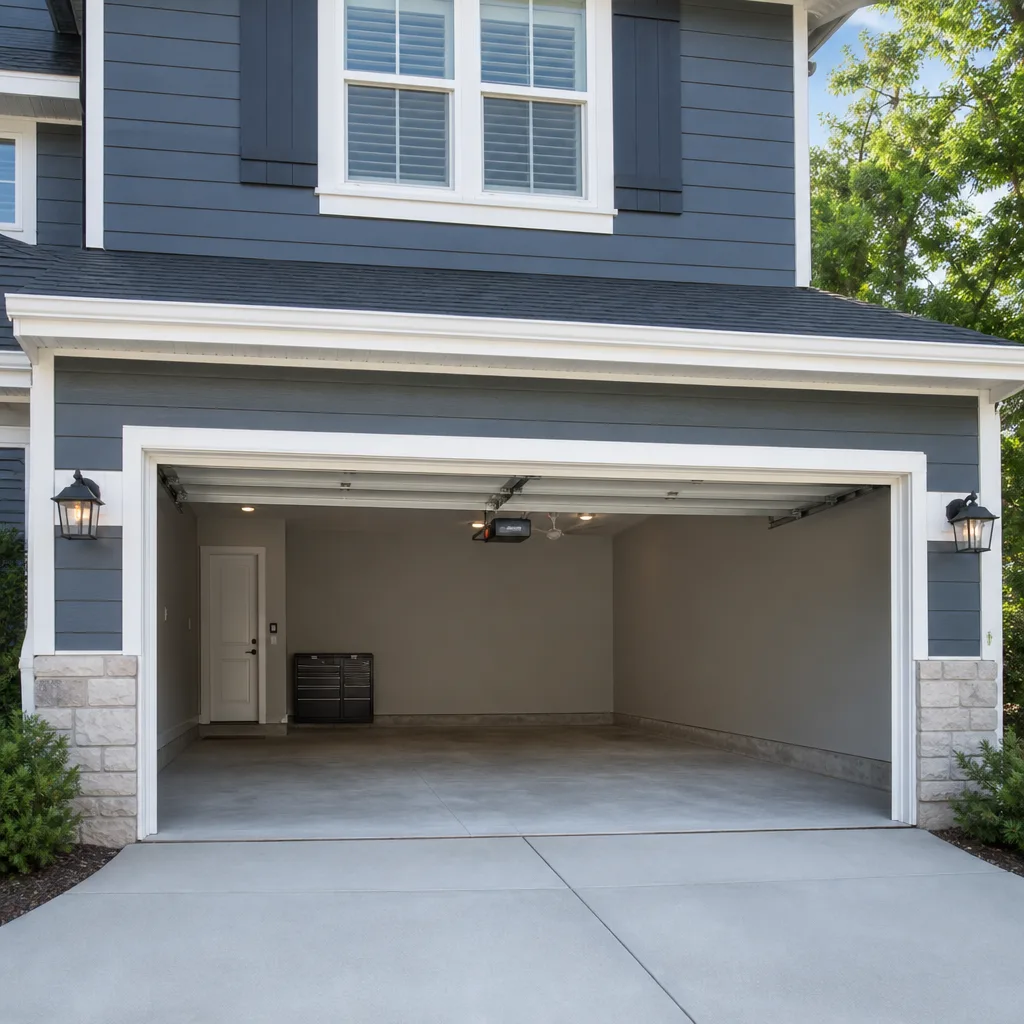
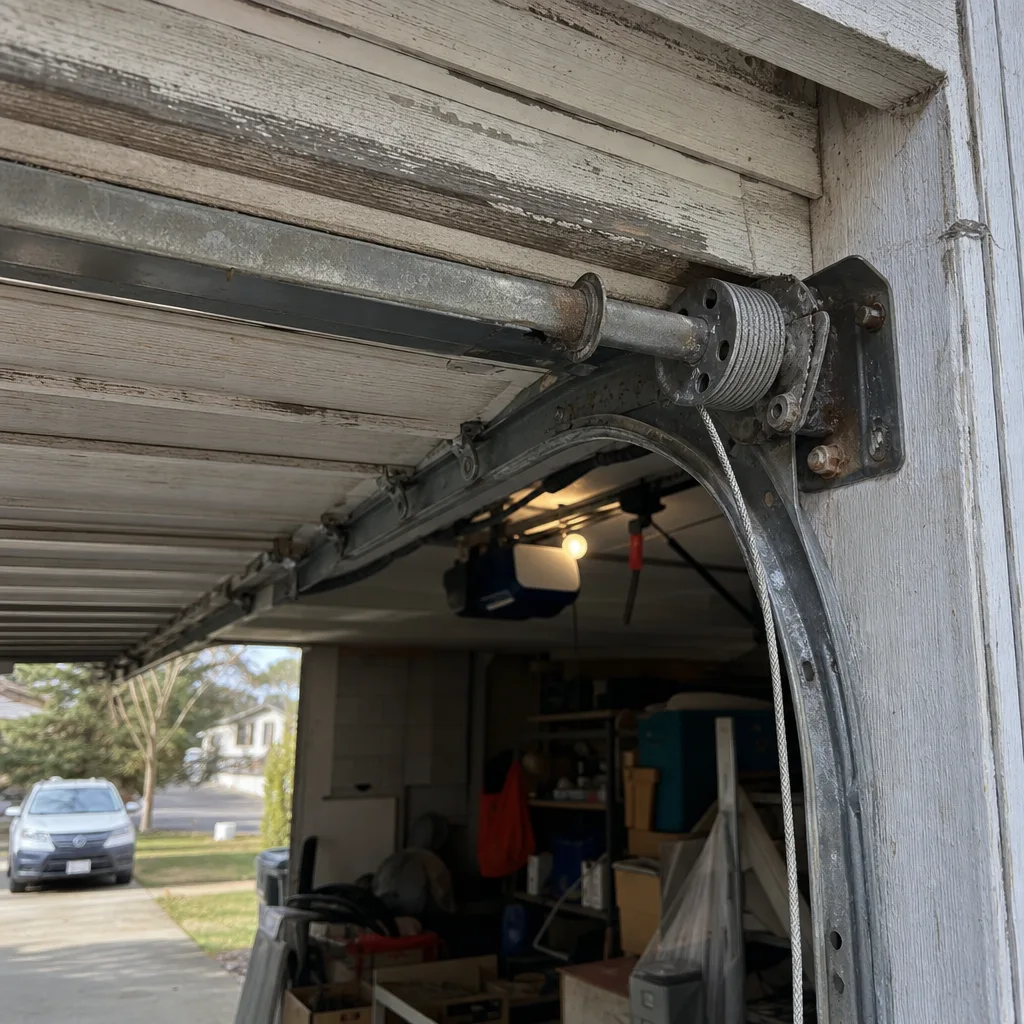 Before
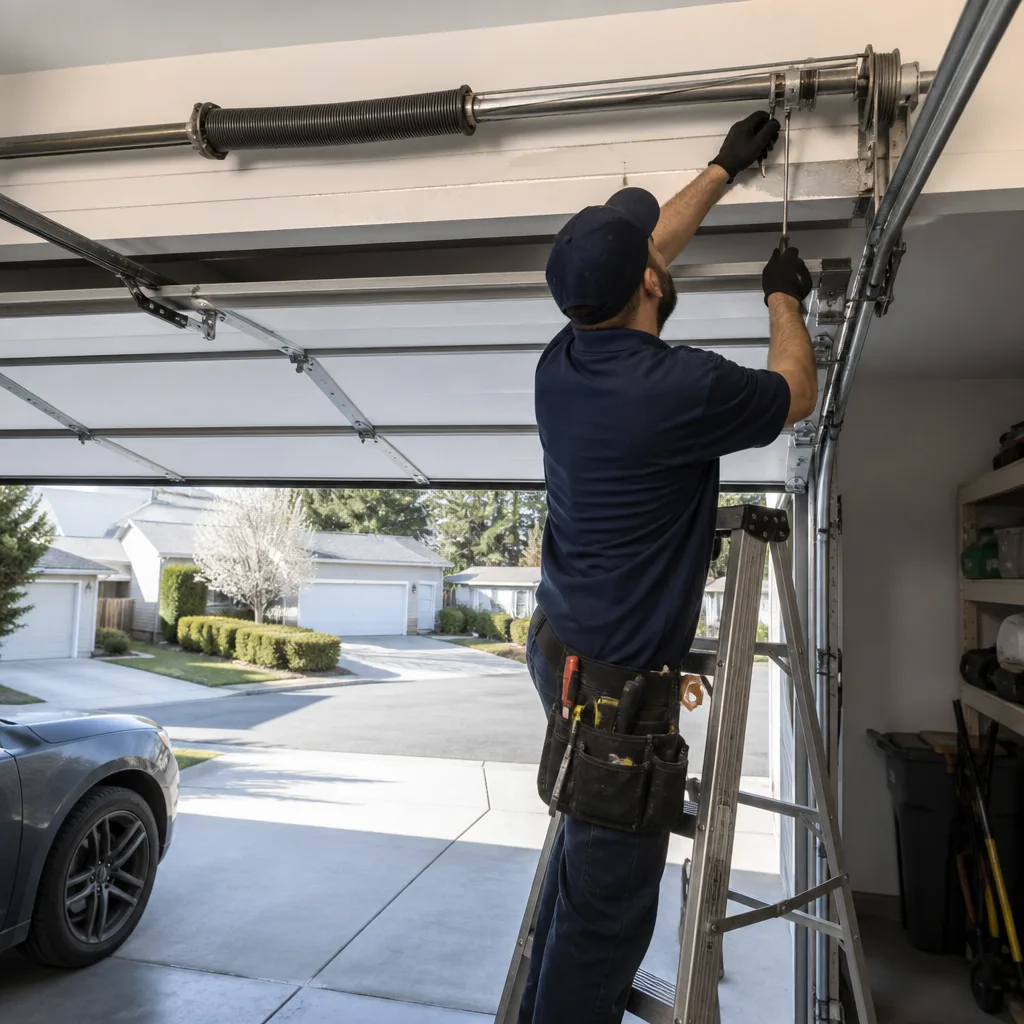 After
After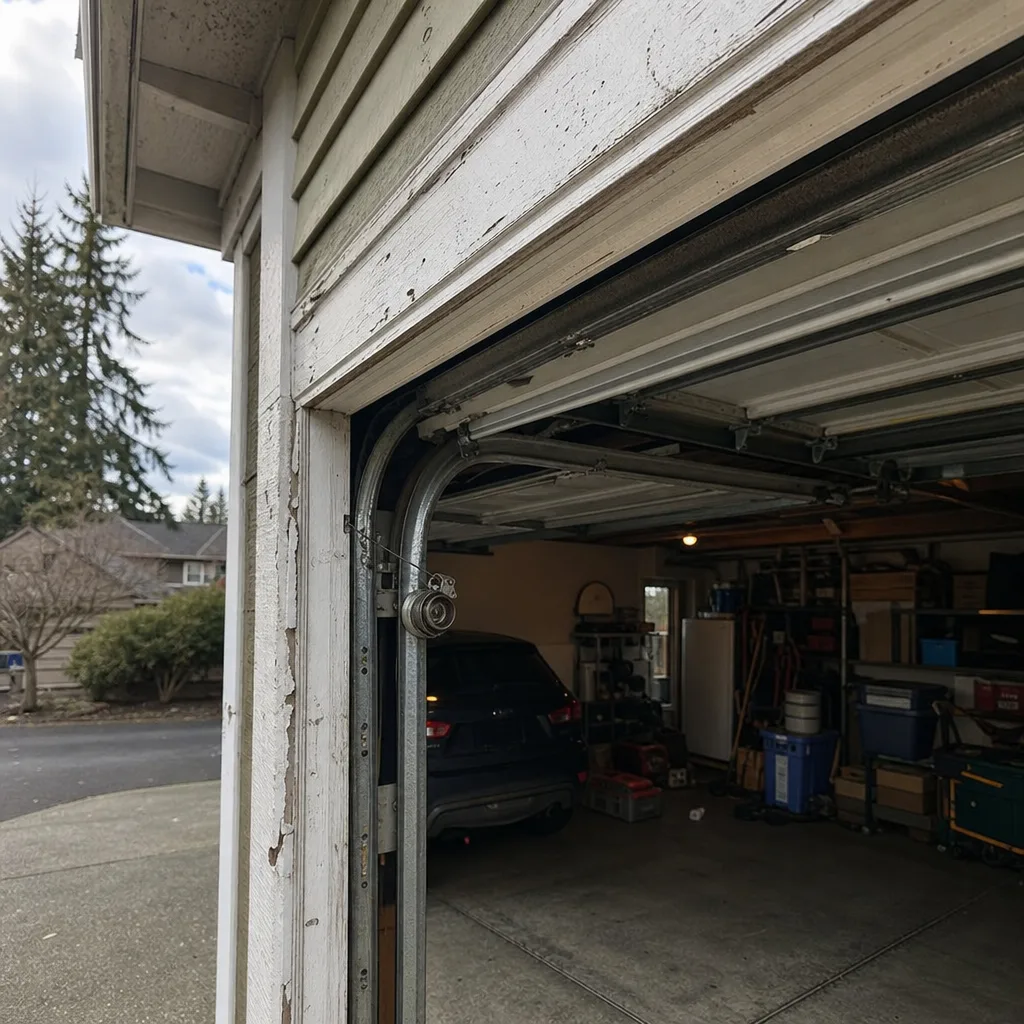 Before
 After
After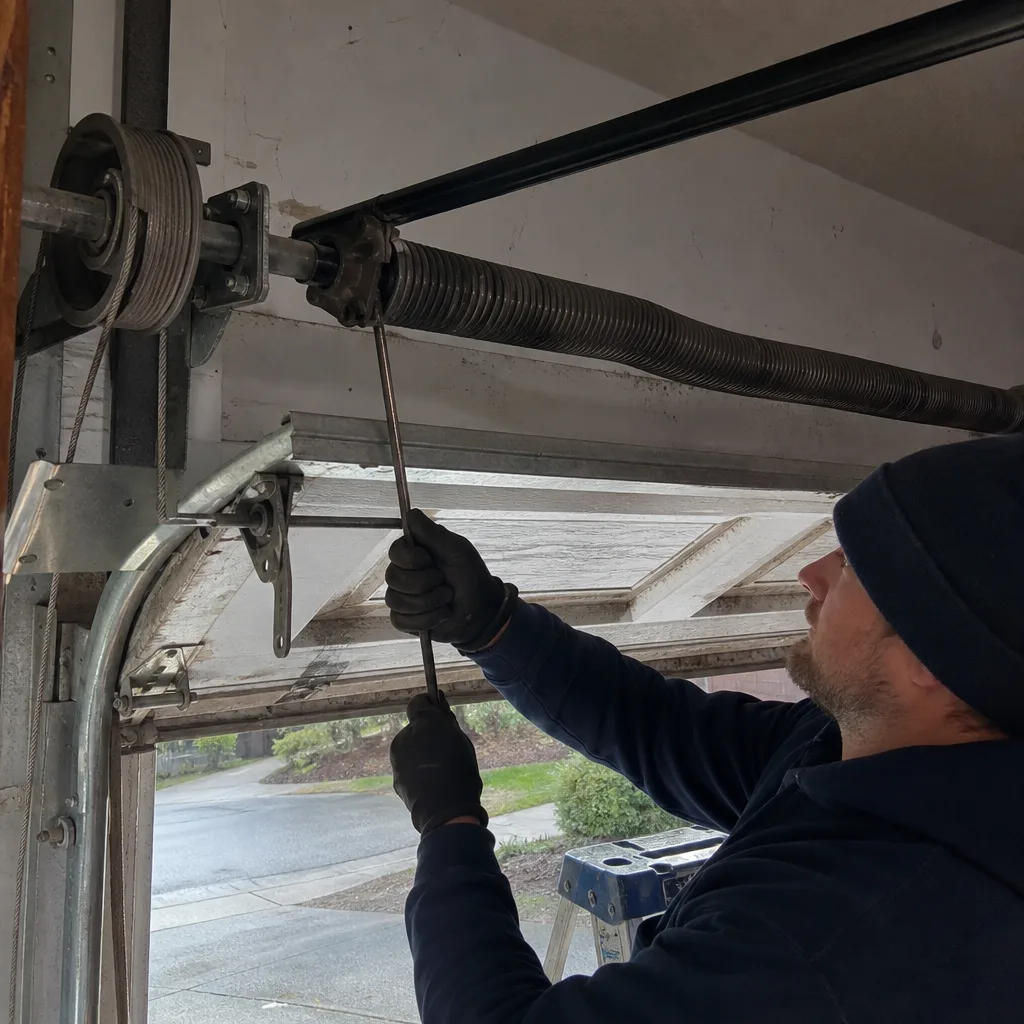 Before
 After
AfterDIY vs Professional Garage Door: The Bellevue Homeowner’s Decision Guide
Torsion spring replacement is not a skill problem. It’s a stored-energy problem. A fully wound standard torsion spring holds more than 100 foot-pounds of torque, and the injury that occurs when a winding bar slips out of a cone is not determined by how careful you are. We’ve been called to homes in Bellevue’s Bridle Trails neighborhood where a homeowner’s careful DIY spring replacement ended in a hospital visit and a garage door left crooked in the tracks. This guide draws the line by component, not by confidence. You’ll learn which repairs are genuinely appropriate for a competent homeowner with the right tools, which tasks carry injury risk that skill cannot mitigate, and how to evaluate the YouTube tutorial you’re already watching.
Quick Answer
Most Bellevue homeowners can safely handle weatherseal replacement, roller swaps on sectional doors, safety sensor realignment, and keypad reprogramming. Torsion spring winding or replacement, cable replacement under tension, and opener trolley assembly work should be left to professionals because the injury mechanisms involve stored energy and pinch points that no amount of caution prevents. The dividing line is not skill level; it’s whether the task requires releasing or managing stored mechanical energy.
Table of Contents
- The Hard-Stop List: What No Homeowner Should Attempt
- The Legitimate DIY List: Tools, Steps, and Limits
- How to Evaluate a YouTube Tutorial for Accuracy
- The True Cost Comparison: DIY vs. Professional in Bellevue
- Documenting Your DIY Work for Future Technicians
- Bellevue-Specific Factors: Climate, Codes, and Common Issues
- Common Mistakes to Avoid
- When to Call a Professional
- Frequently Asked Questions
 Before
 After
AfterThe Hard-Stop List: What No Homeowner Should Attempt
Three garage door tasks belong on every homeowner’s permanent no-go list. The risk is not reduced by reading more, watching more videos, or working more slowly. The physics of the mechanism creates injury scenarios that proceed faster than human reaction time.
Torsion Spring Winding and Replacement
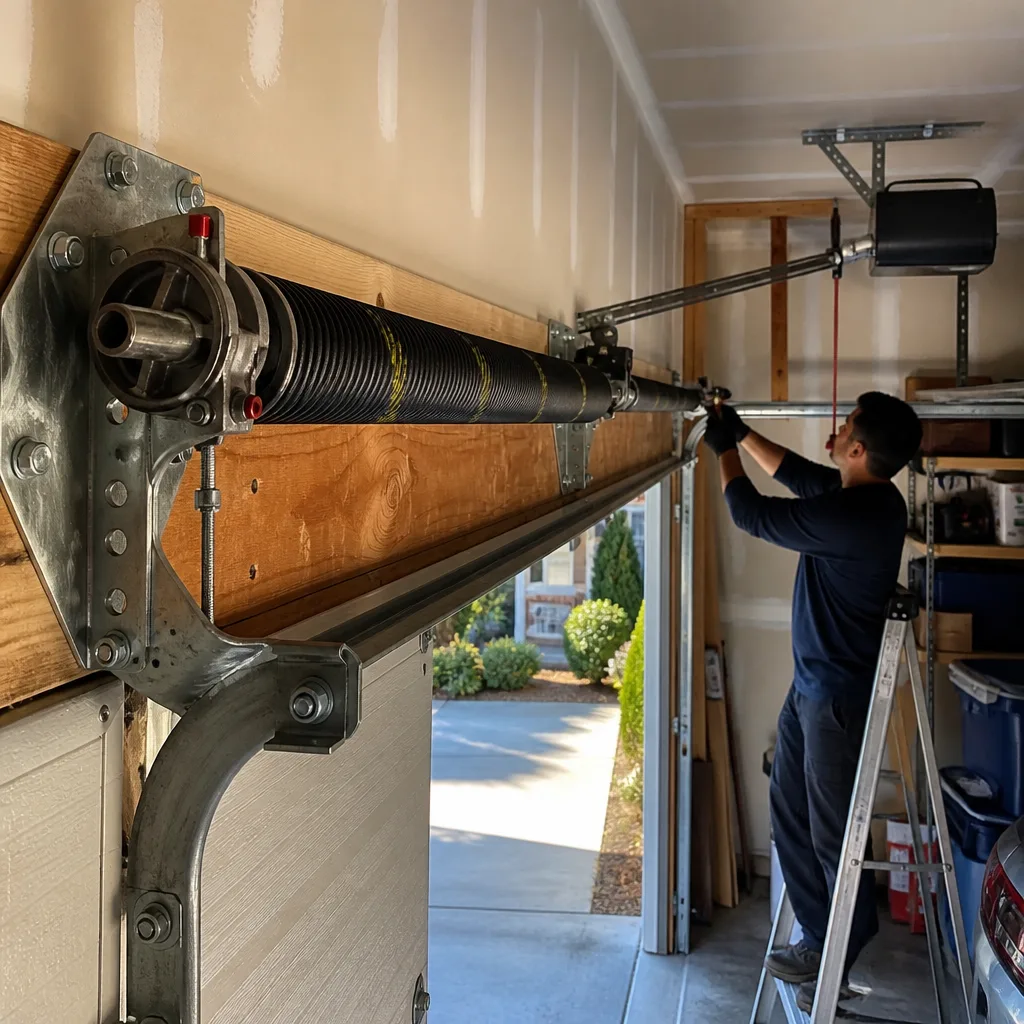
A standard 2-inch diameter torsion spring for a 16-foot wide residential door in Bellevue stores approximately 120 foot-pounds of torque when fully wound. That energy does not release gradually if a winding bar slips from the cone. It releases instantaneously. The bar becomes a projectile, and the cone itself can fracture with enough force to penetrate drywall. We’ve documented this in our photo records: a spring cone embedded in a garage ceiling after a homeowner’s winding bar lost purchase.
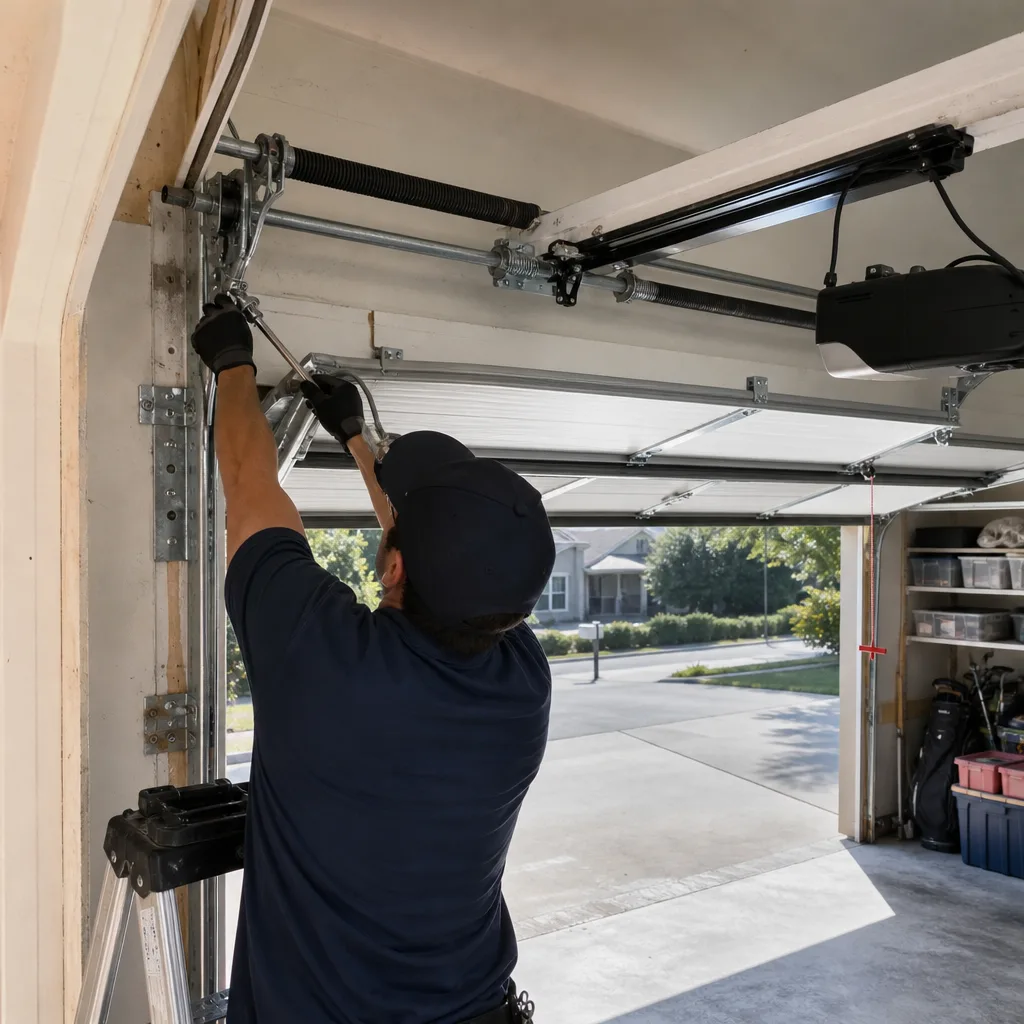
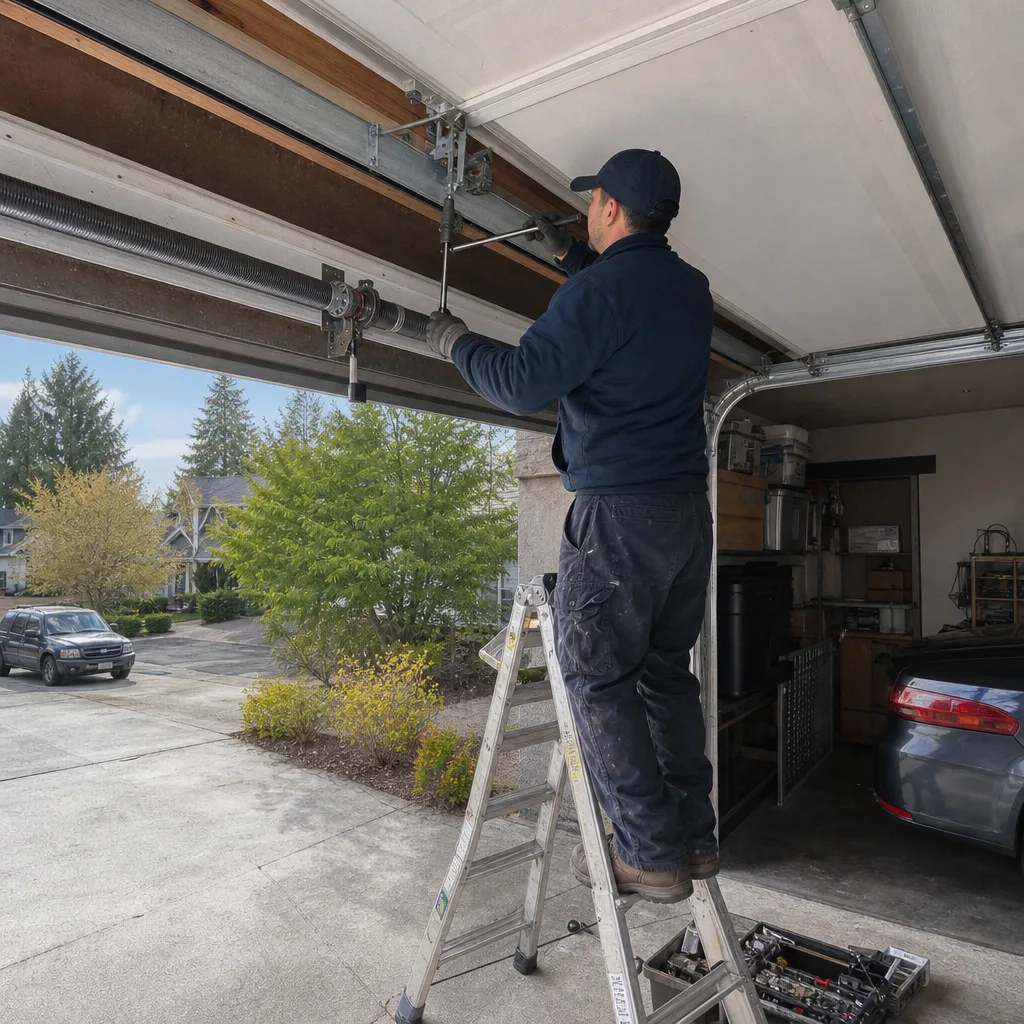
The injury mechanism is not “the spring might break.” It’s that the winding process requires you to add energy to the system while standing within the arc of the winding bars. Professional technicians use specific-length solid steel winding bars, never adjustable wrenches or screwdrivers, and they stand positioned to avoid the bar’s travel path if it slips. Even with proper technique, the risk is managed, not eliminated. This is why garage door repair in Bellevue involving torsion springs is the most common emergency call we receive after a DIY attempt.
Cable Replacement Under Tension
Lift cables on a torsion-spring door are under constant tension, even when the door is closed. The cable drum at the end of the spring shaft holds that tension. If a homeowner removes a cable without first securing the door in the open position with locking pliers on the track and releasing spring tension properly, the cable whips unpredictably. The injury is typically to hands and forearms, but a cable under 150+ pounds of tension can also strike the face or torso.
The specific error we see: homeowners attempt to replace a frayed cable by simply detaching the bottom bracket and pulling the old cable free. The drum unwinds, the door shifts, and the remaining cable snaps across the garage. Proper cable replacement requires controlled spring unwinding, door securing, and drum set-screw adjustment. These steps are not intuitive from visual inspection.
Opener Trolley Assembly and Rail Work
The trolley carriage on a chain- or belt-drive opener connects the motor assembly to the door. It contains the emergency release mechanism and the limit switches that tell the opener when to stop. When homeowners disassemble the trolley to address a stripped gear or bent rail, they often release the door from the opener without confirming the door is balanced. An unbalanced door with disconnected opener can fall freely, and the weight of a steel or wood-composite door in Bellevue’s newer construction, often 150-200 pounds, will crush anything beneath it.
The injury mechanism here is gravity, not stored spring energy, but the outcome is equally severe. We’ve responded to calls in the Crossroads area where a homeowner’s trolley repair ended with the door crashing onto a vehicle hood because the spring tension had weakened gradually and the door was no longer balanced.
The Legitimate DIY List: Tools, Steps, and Limits
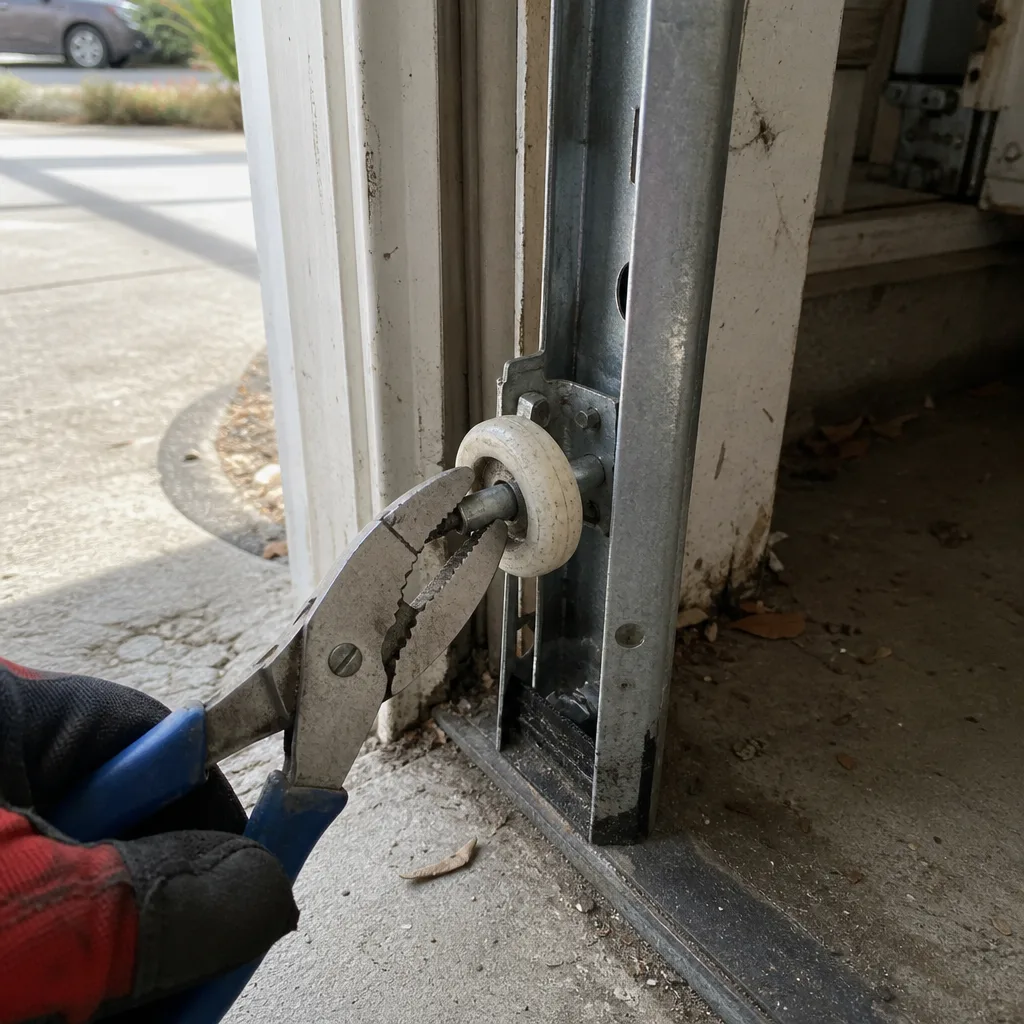
Four tasks are genuinely appropriate for competent homeowners. Each has clear tool requirements, defined endpoints, and no stored-energy hazard.
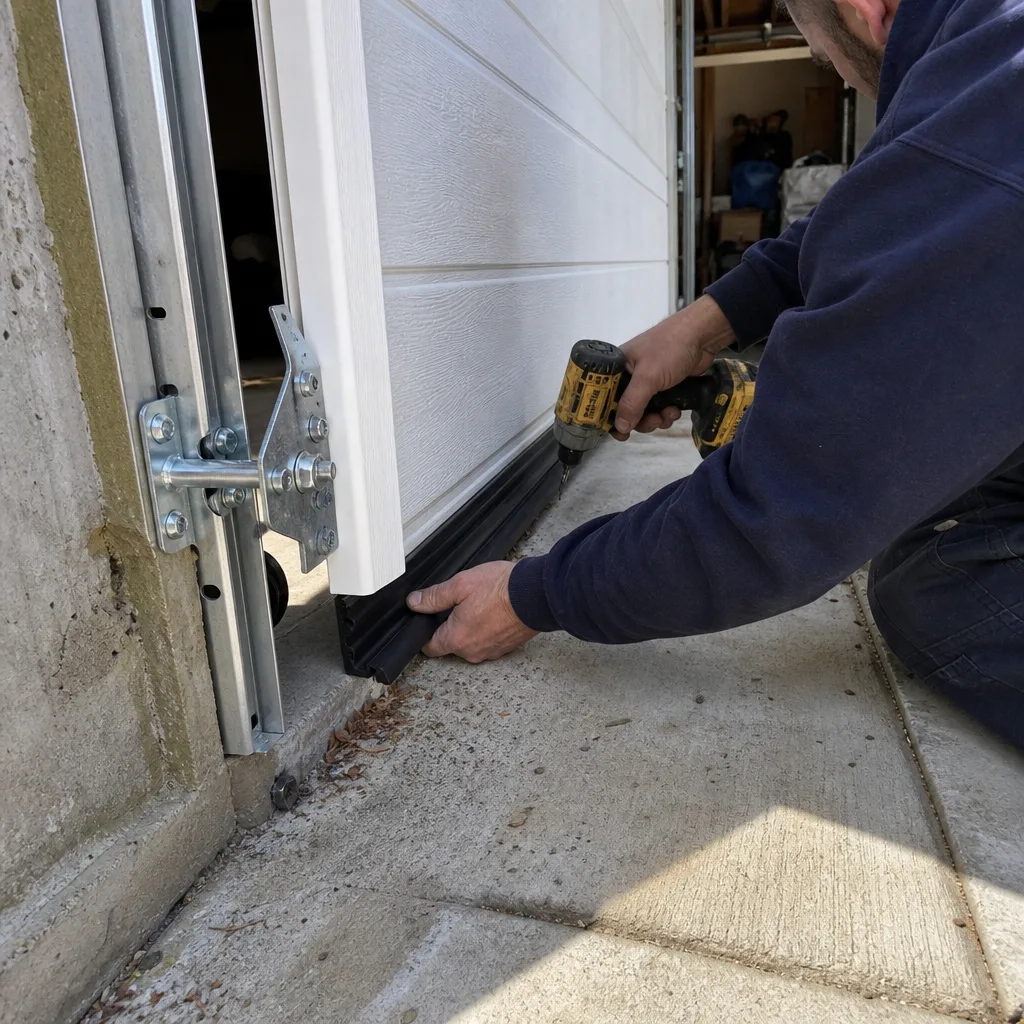
Weatherseal Replacement
The rubber or vinyl seal at the bottom of the door degrades from Bellevue’s wet winters and the road salt tracked from downtown commutes. Replacement requires:
- Raising the door to waist height and securing it with locking pliers on the track
- Removing the old seal by sliding it from one end of the retainer channel
- Measuring the channel width (typically 1/3-inch, 3/16-inch, or T-style) and purchasing matching seal
- Lubricating the channel with silicone spray and feeding the new seal through
- Trimming excess with a utility knife and testing door travel
Total tool investment: $15-25 if you don’t already own locking pliers and a utility knife. Time: 30-45 minutes for a first attempt. The limit: if the retainer channel itself is rusted through or the aluminum bottom section is corroded, the repair exceeds DIY scope.
Roller Swap on Sectional Doors
Nylon rollers with sealed bearings last 10-15 years but eventually crack or bind. Replacement on a door with standard hinge-mounted rollers:
- Disconnect the opener using the emergency release handle
- Raise the door to the position where the target roller is at the track curve (minimizing spring tension on that panel)
- Secure the door with locking pliers on the track immediately above and below the roller
- Remove the hinge bolt with a socket wrench, pivot the hinge away, and extract the roller stem
- Insert the new roller, reattach the hinge, and remove the locking pliers
- Test manually before reconnecting the opener
Critical limit: never remove more than one roller at a time, and never work on the bottom roller without understanding that the bottom bracket is under cable tension. The bottom roller is attached to the bottom bracket, which connects to the lift cable. This bracket is not a DIY component. If your noisy or stuck roller is the bottom one, stop and call a professional.
Safety Sensor Realignment
Photo-eye sensors mounted 4-6 inches above the floor on each side of the door opening must face each other precisely. Misalignment causes the door to reverse immediately or refuse to close. The DIY fix:
- Clean both lenses with a soft cloth (spider webs and dust are the most common causes in Bellevue’s wooded lots)
- Check that both LED indicators show solid illumination (typically green on one, amber on the other)
- Loosen the wing nut or thumb screw on the bracket, adjust until both LEDs are solid, and retighten
- Test with a cardboard box in the door path to confirm reversal
If LEDs flicker or won’t stabilize, the wiring may be damaged, often from rodent activity common near Lake Hills greenbelts. Wiring repair is not on the DIY list.
Keypad and Remote Reprogramming
Most LiftMaster, Craftsman, and Wayne Dalton openers use a learn button procedure. The specific button color and press duration vary by model year, so the manufacturer’s instruction sheet for your exact model, not a generic video, is the correct source. Keep the original documentation, or find the model number on the opener head and download the PDF from the manufacturer. Generic “how to program any garage door remote” videos often skip the step of clearing all previous codes, which leaves your opener vulnerable to previous owners’ remotes.
How to Evaluate a YouTube Tutorial for Accuracy
Not all garage door repair videos are created equal, and the dangerous ones share common omissions. Here’s how to distinguish credible instruction from content that will send you to the emergency room.
A credible torsion spring replacement video always shows three things:
- The technician using solid steel winding bars of the exact diameter for the spring cones, never adjustable tools or improvised bars
- The explicit step of marking and counting existing spring winds before unwinding, and marking the new spring’s position after winding
- The use of winding bars in pairs, with one bar maintaining position in the cone while the second is inserted for the next quarter-turn
A dangerous tutorial omits at least one of these, and often substitutes enthusiasm for precision. Red flags: the presenter says “you can use a screwdriver in a pinch,” skips the wind-counting step with “just wind it until it feels right,” or works without visible locking pliers securing the door. The most dangerous videos are the ones that make the task look fast and easy. Proper torsion spring work is slow, repetitive, and visually boring. That’s the accurate representation.
For non-spring tasks, credible videos identify the opener brand and model year, show the specific part numbers being installed, and include a test sequence at the end. Generic “this works on most openers” advice is a warning sign, because Raynor and LiftMaster openers, for example, use different travel-limit adjustment procedures that are not interchangeable.
The True Cost Comparison: DIY vs. Professional in Bellevue
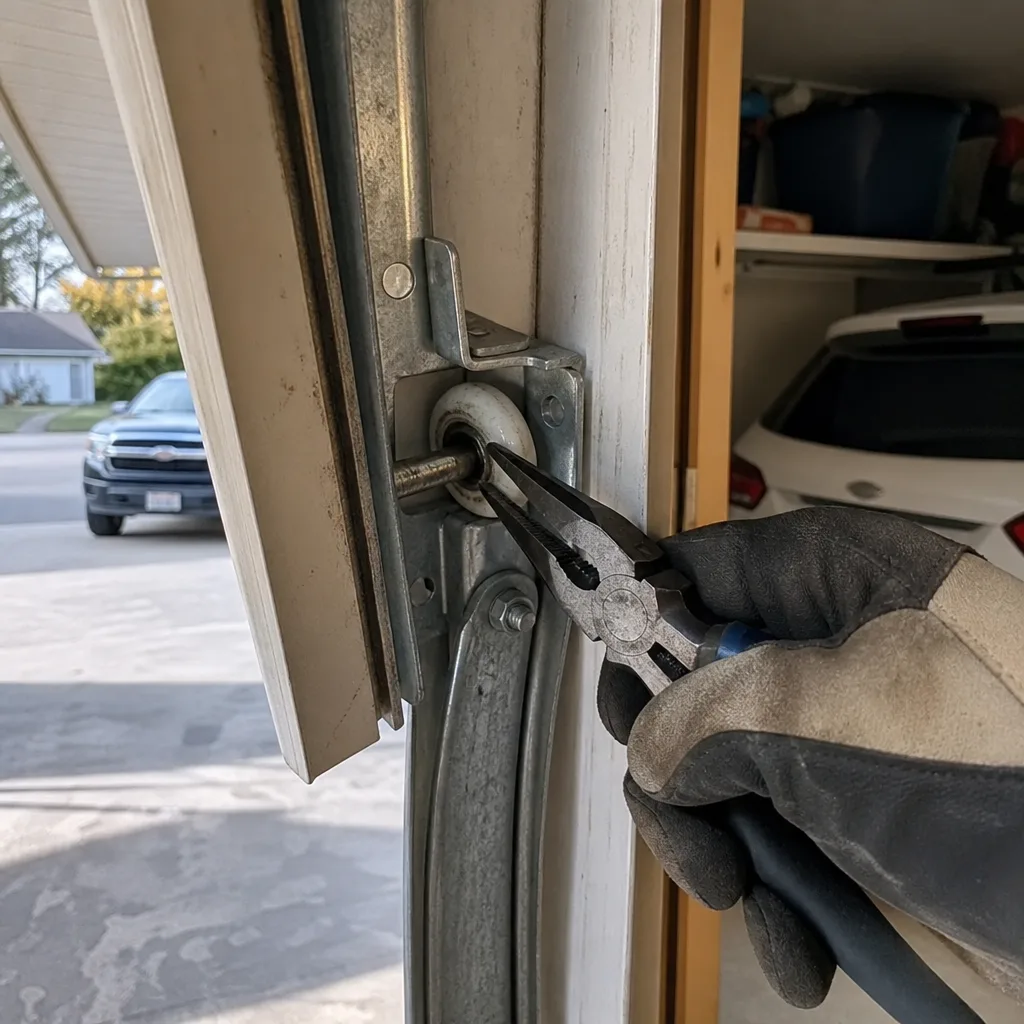
The honest Garage Door Cost Breakdown: The Bellevue Homeowner’s Reference for 2026 includes tool acquisition, callback risk, and the value of documentation for home resale.
DIY Weatherseal or Roller Replacement
- Weatherseal material: $25-45
- Nylon roller set (10): $30-60
- Locking pliers (if needed): $20-35
- Socket set (if needed): $40-80
- Silicone lubricant: $8-12
Total first-project cost: $123-232 if buying all tools. Subsequent projects use only materials. No callback risk for these tasks if performed within the limits described above.
DIY Spring Replacement (Not Recommended)
- Torsion spring pair: $80-150
- Solid steel winding bars (must be correct diameter): $25-40
- Winding cone tools: $30-50
- Vise grips, socket set, ladders: assumed already owned
- Implied cost: emergency room visit, missed work, vehicle damage from falling door
The callback rate for DIY spring replacement in our Bellevue service area is significant enough that we specifically ask, when scheduling a spring repair after a homeowner attempt, whether the original spring was wound or unwound when the homeowner stopped. A partially wound spring is more dangerous than a fully wound one because the winding cone position is unpredictable.
Professional Repair Costs in Bellevue
Based on our written-price records for Bellevue addresses from 2023-2025:
- Standard torsion spring replacement (pair, including hardware): $280-420
- Cable replacement (pair, including drum inspection): $180-260
- Opener trolley carriage replacement: $220-340
- Weatherseal replacement (labor and material): $120-180
- Roller replacement (full set, 10-12 rollers): $200-320
The professional cost includes the 365-Day Done Right Promise, the documented photo record, and the technician’s verification that related components are not also failing. We’ve replaced springs in Bellevue homes where the homeowner’s DIY spring purchase was correct, but the cable drums were also worn and the bearings were dry. The professional service catches these before they become the next failure.
When you call Servo Garage Doors Bellevue home, we deliver a flat, written price and written scope before any work starts. Clause 1 of The Haven Standard means “call for a quote” is not how this works. The price you see is the price you pay.
Documenting Your DIY Work for Future Technicians
If you complete a legitimate DIY repair, document it. Future technicians, home inspectors, and potential buyers need a record of what was done and when. Proper documentation also protects you if a later professional claims your work caused a subsequent failure.
For any DIY repair, capture:
- A photo of the component before removal, showing the part number or model identifier if visible
- A photo of the new component’s packaging with the date of purchase visible
- A photo of the installed component, in place, with the surrounding hardware visible for context
- A brief note: date, your name, specific task performed, and any observations (e.g., “noted corrosion on left track bracket, did not replace”)
Store these in a cloud folder labeled with your address and “garage door maintenance.” Email a copy to yourself for timestamp verification.
For the hypothetical DIY spring swap that we do not recommend, proper before/after documentation would require: a photo of the original spring showing wire diameter measurement, coil count, and wind direction; a photo of the winding cone and stationary cone with identifying marks; a photo of the door in the open position with locking pliers visible on the track; and a photo of the fully wound new spring with the bar position marked. The fact that this documentation is extensive and technical is itself evidence that the task exceeds typical homeowner scope.
Our documented photo record on every professional visit, Clause 4 of The Haven Standard, exists because we believe the customer should see what was found and what was done. If you do your own work, adopt the same standard for your own protection.
Bellevue-Specific Factors: Climate, Codes, and Common Issues
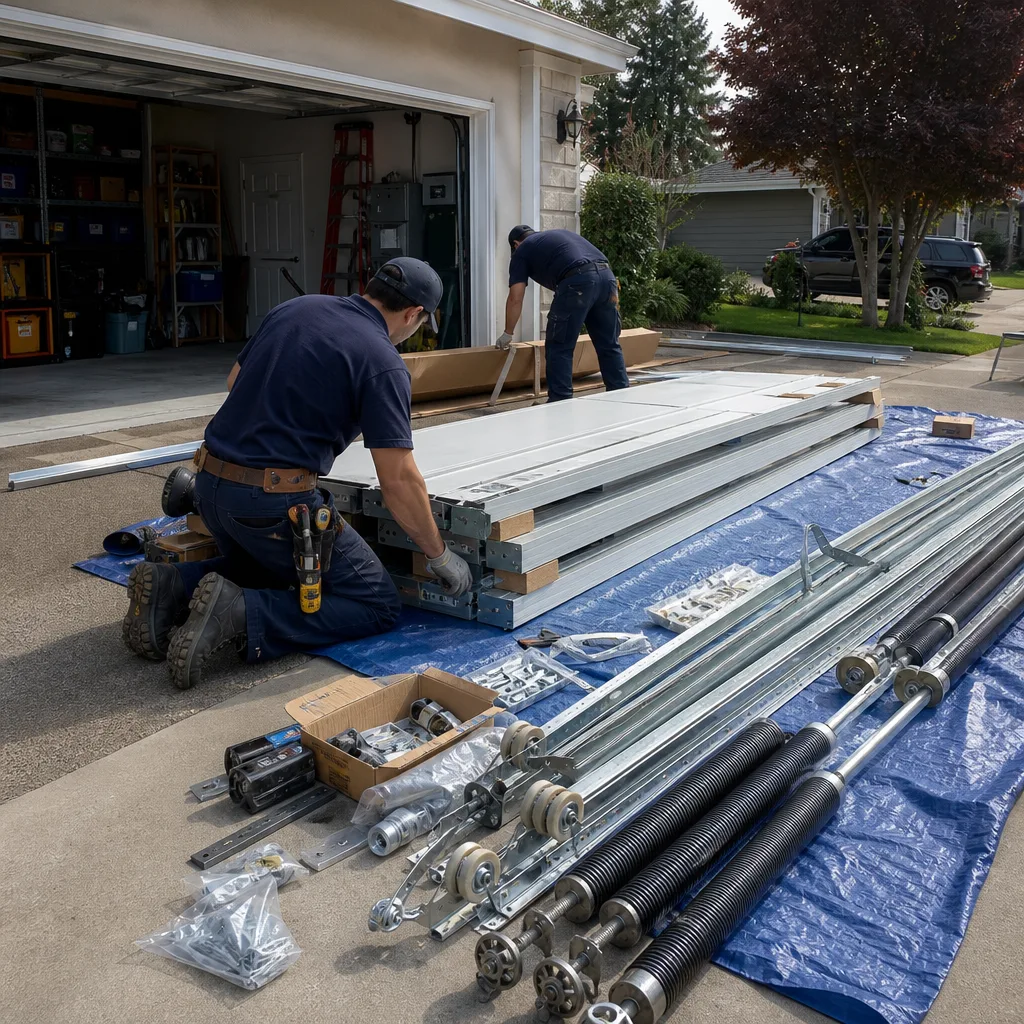
Bellevue’s environment and building patterns create specific garage door considerations that generic national guides miss.
Moisture and corrosion: Bellevue receives 37+ inches of annual precipitation, and the humidity in garages without proper ventilation accelerates rust on bottom brackets, track hardware, and spring fittings. Homes near Lake Washington or the Mercer Slough corridor see faster corrosion than elevated lots in Somerset. We regularly find that a spring failure in these areas is preceded by visible rust on the stationary cone, which a documented inspection would have caught. If you’re doing DIY visual checks, focus on the bottom 18 inches of the door system.
Wind load requirements: Bellevue’s location in the Puget Sound lowland means wind exposure varies dramatically by neighborhood. Homes on exposed ridges in Lakemont or the west-facing slopes above I-90 may require wind-rated doors with reinforced struts. A DIY door replacement without checking the city’s wind load map against your specific address can result in a door that fails inspection or warranty requirements.
Permit considerations: Bellevue requires permits for structural modifications and electrical work. A straightforward like-for-like door replacement on existing framing typically does not require a permit, but any modification to the rough opening, header, or electrical supply to the opener does. See Garage Door Permits, Codes & Inspections in WA: What You Need to Know for full details. The city’s permit lookup is public, and unpermitted electrical work can complicate home sales in Bellevue’s active market.
Brand prevalence: Bellevue’s construction boom from 2015-2025 installed a high concentration of LiftMaster and Craftsman belt-drive openers in new construction, while older homes in West Bellevue and Clyde Hill more often have Wayne Dalton TorqueMaster spring systems or Raynor chain-drive units. The TorqueMaster system in particular is not a DIY spring system; the springs are contained in a tube and require specific tools and knowledge.
Power reliability: Bellevue’s tree-lined streets mean frequent winter power outages from wind and snow load. Battery backup openers, now required by Washington state law for new installations, are a consideration for any opener replacement. DIY opener installation without understanding the battery backup wiring requirements creates both a code issue and a functional failure when power is out.
Common Mistakes to Avoid
- Using the wrong winding bar diameter for torsion springs. A 1/2-inch bar in a 7/16-inch cone will slip. The fit must be snug with no visible play. We’ve documented cone damage in Bellevue’s Newport Hills from exactly this mismatch.
- Replacing only one spring on a two-spring door. Springs are matched pairs; the older spring has different tension characteristics. The new spring overcompensates, stresses the door, and fails prematurely.
- Ignoring the bottom bracket warning. Homeowners who successfully replace middle rollers sometimes assume the bottom roller is the same procedure. It is not. The bottom bracket connects to the lift cable under spring tension.
- Programming a remote without clearing previous codes. In Bellevue’s active real estate market, previous owners, tenants, or neighbors may still have working remotes. The learn button procedure includes a step to clear all codes; skipping it is a security oversight.
- Using WD-40 on rollers or tracks. WD-40 is a solvent, not a lubricant. It strips existing grease and attracts dust. Use silicone spray or white lithium grease specifically formulated for garage door components.
- Assuming a slow-moving door needs lubrication. Often the door is unbalanced due to spring fatigue. Lubricating a door with failing springs masks the problem until catastrophic failure occurs.
- Not verifying sensor function after any track or hardware work. A bumped sensor bracket or pinched wire defeats the safety system. Always test the reversal function with a solid object after any work near the door opening.
When to Call a Professional
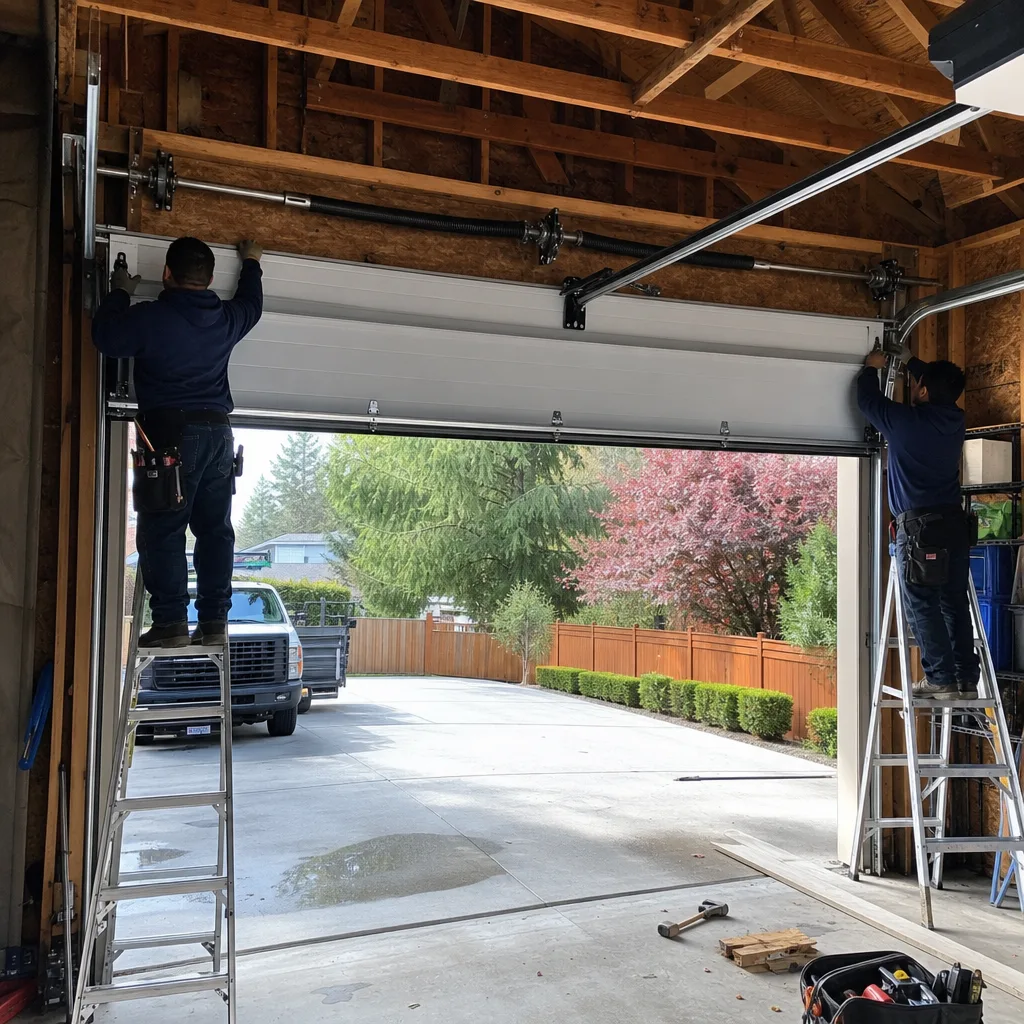
Call a professional when the task involves stored energy you cannot fully release, when the repair requires tools you do not own and will not use again, when the component failure suggests a systemic issue, or when the work affects safety systems that protect people and property. In Bellevue, where home values and vehicle investments are substantial, the cost of professional repair is typically a small fraction of the value at risk.
Garage door repair in Bellevue from Servo Garage Doors includes a flat, written price before any work starts, a documented photo record of findings and completed work, and the 365-Day Done Right Promise backed by The Haven Standard. We offer free estimates in Bellevue. Call (425) 696-3561 to schedule.
Frequently Asked Questions
Standard torsion spring replacement in Bellevue typically costs $280-420 for a pair, including hardware and labor. The exact price depends on spring size, door weight, and whether additional components like cable drums or bearings also need attention. We deliver a flat, written price before any work starts, per Clause 1 of The Haven Standard. Call (425) 696-3561 for a free estimate.
No. Two-spring systems use matched pairs with specific cycle ratings and tension characteristics. Installing one new spring with one worn spring creates unequal lift force that warps the door, damages the opener, and causes premature failure of both springs. Professional replacement always pairs springs, and the cost difference for the second spring is modest compared to the callback expense of a single-spring replacement.
Disconnect the opener using the emergency release handle and lift the door manually to waist height. A balanced door stays in place or drifts slowly. If it rises rapidly or falls closed, the springs are incorrectly tensioned. Do not attempt to adjust spring tension yourself; the adjustment requires controlled winding or unwinding of stored energy. Call a professional for rebalancing.
Do not use the door. Do not attempt to remove the remaining cable. The door is now partially or fully unsupported by spring tension, and any movement can cause it to fall or shift unpredictably. If the door is open, avoid walking beneath it. Call for emergency service. In Bellevue, Servo Garage Doors answers live 24/7, including holidays, and dispatches a named technician with an on-the-way text.
Washington state law requires battery backup on all new garage door opener installations. If you’re replacing an existing opener, the new unit must include battery backup. This is not a DIY wiring project for most homeowners; the battery system requires proper integration with the opener’s logic board and charging circuit. Garage door opener repair and installation in Bellevue from Servo includes compliance verification.
Safe videos show solid steel winding bars of exact cone diameter, explicit wind counting, and paired bar technique. Dangerous videos suggest improvised tools, skip wind counting, or make the task appear quick and easy. If the video does not show the presenter’s hands positioned to avoid the bar’s travel path if it slips, it is not safe to follow. When in doubt, the presence of any red flag means the task is not appropriate for DIY.
The Bottom Line
The DIY versus professional question for garage doors is answered by physics, not confidence. Weatherseal, rollers above the bottom bracket, sensor alignment, and keypad programming are legitimate homeowner tasks with modest tool investment and clear safety boundaries. Torsion spring work, cable replacement under tension, and trolley assembly repair involve stored energy and pinch points that no amount of caution fully mitigates. The cost of professional repair includes expertise, documentation, and warranty protection that DIY cannot replicate. In Bellevue’s climate and housing market, proper garage door maintenance and repair protects both daily function and long-term property value. When the task exceeds your comfort or the component exceeds safe DIY scope, a written-price professional service provides the paper trail that makes “trust us” unnecessary.
For garage door installation in Bellevue, repair, or a free second opinion on any written estimate from another company, call Servo Garage Doors at (425) 696-3561. Estimates are free. The price is quoted and agreed before any work starts. Every visit closes with a documented photo record of what was found and what was done.
Written by Marcus Deller, Owner at Servo Garage Doors Bellevue, serving Bellevue since 2015.