
Last updated September 21, 2026
Full 25-point door and opener safety check with every visit - springs, cables, rollers, tracks, and your LiftMaster or Chamberlain opener included
You get a price before we start. It does not change when the truck arrives.
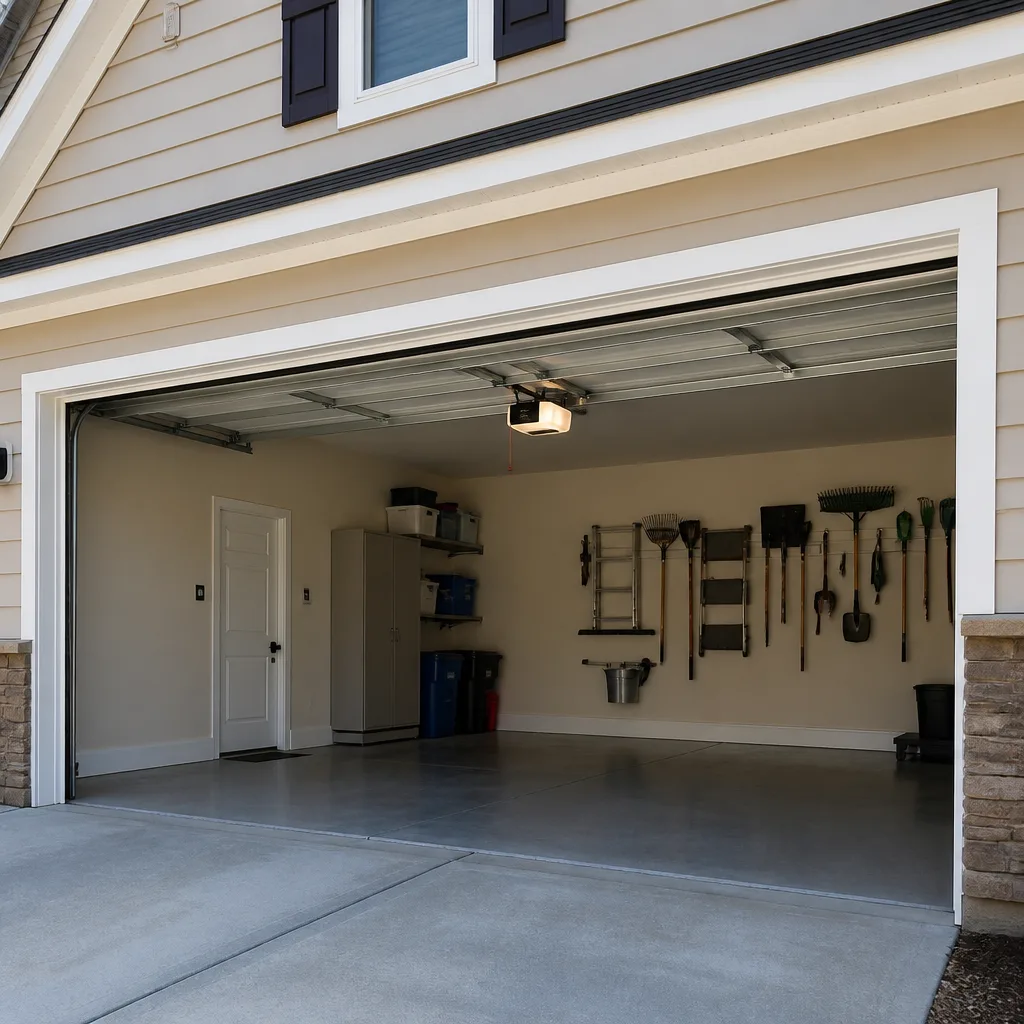
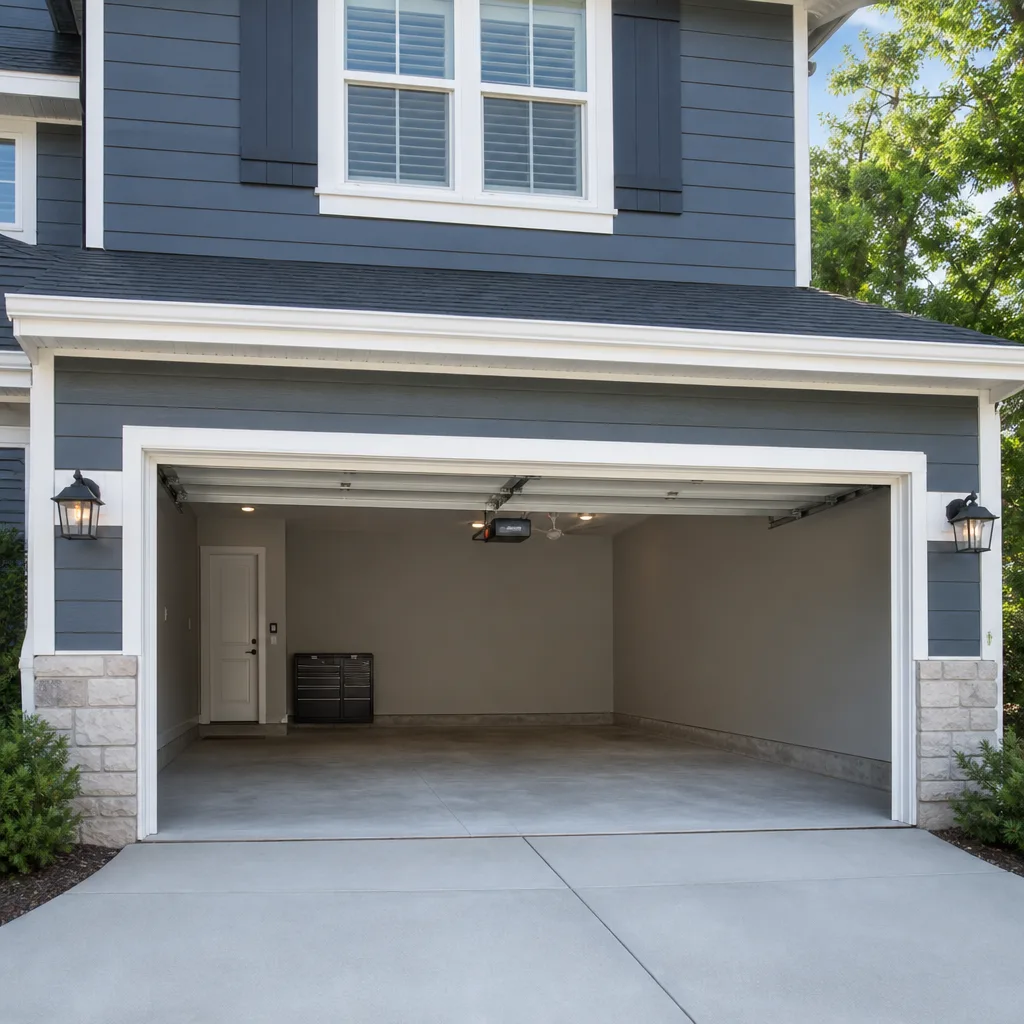
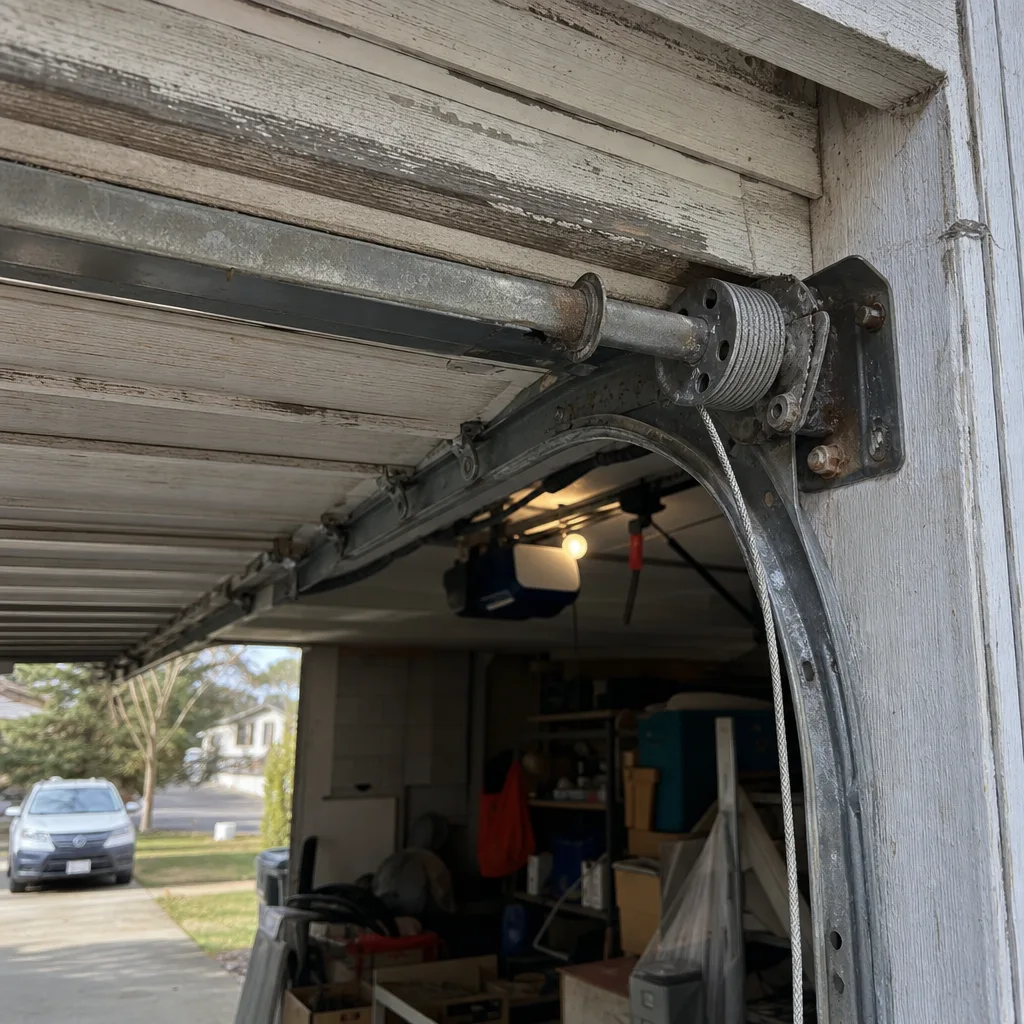 Before
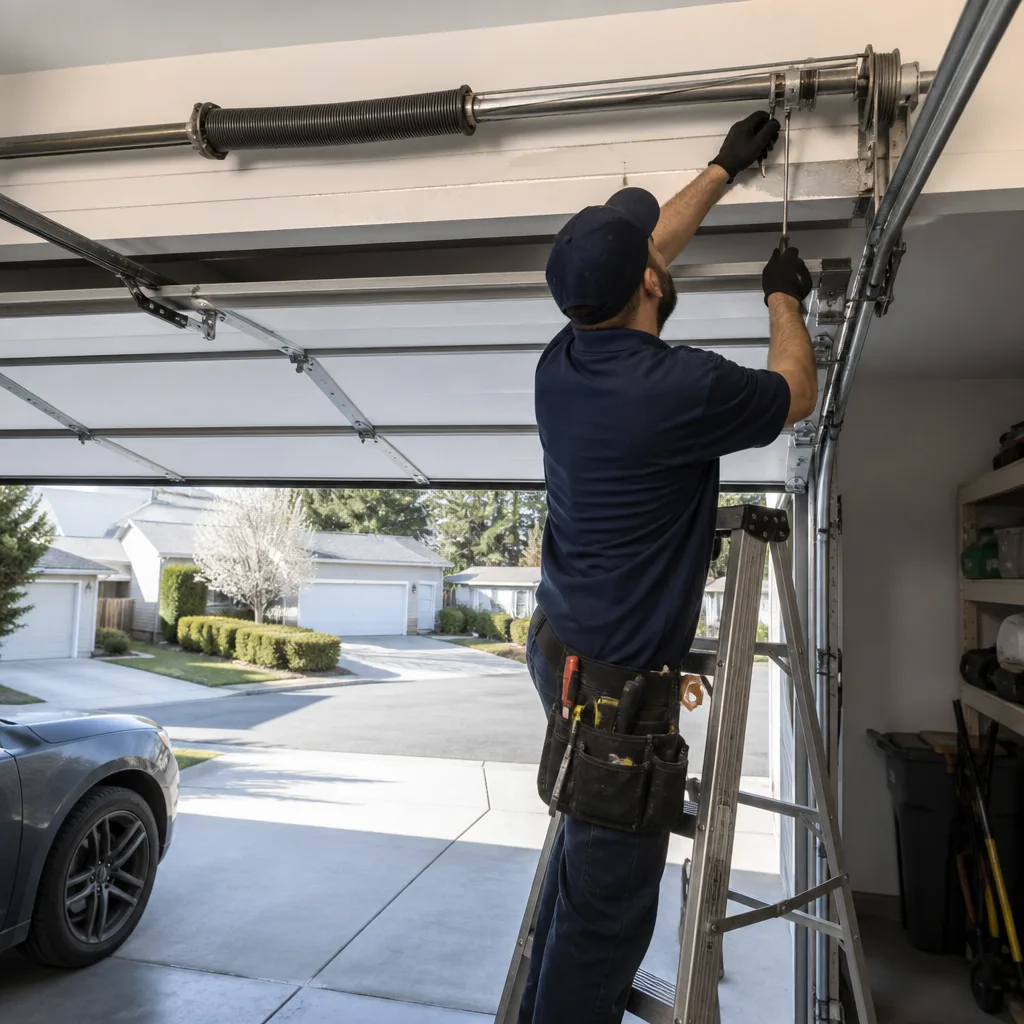 After
After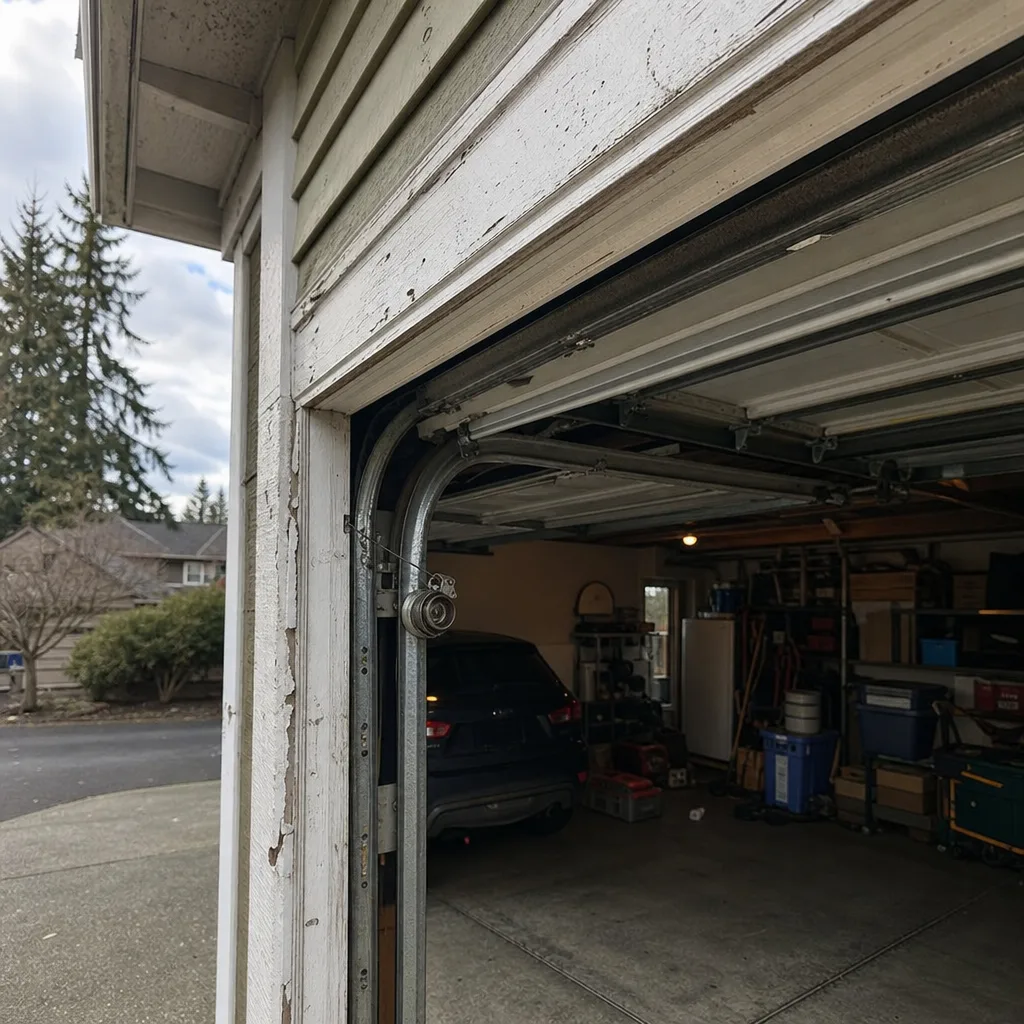 Before
 After
After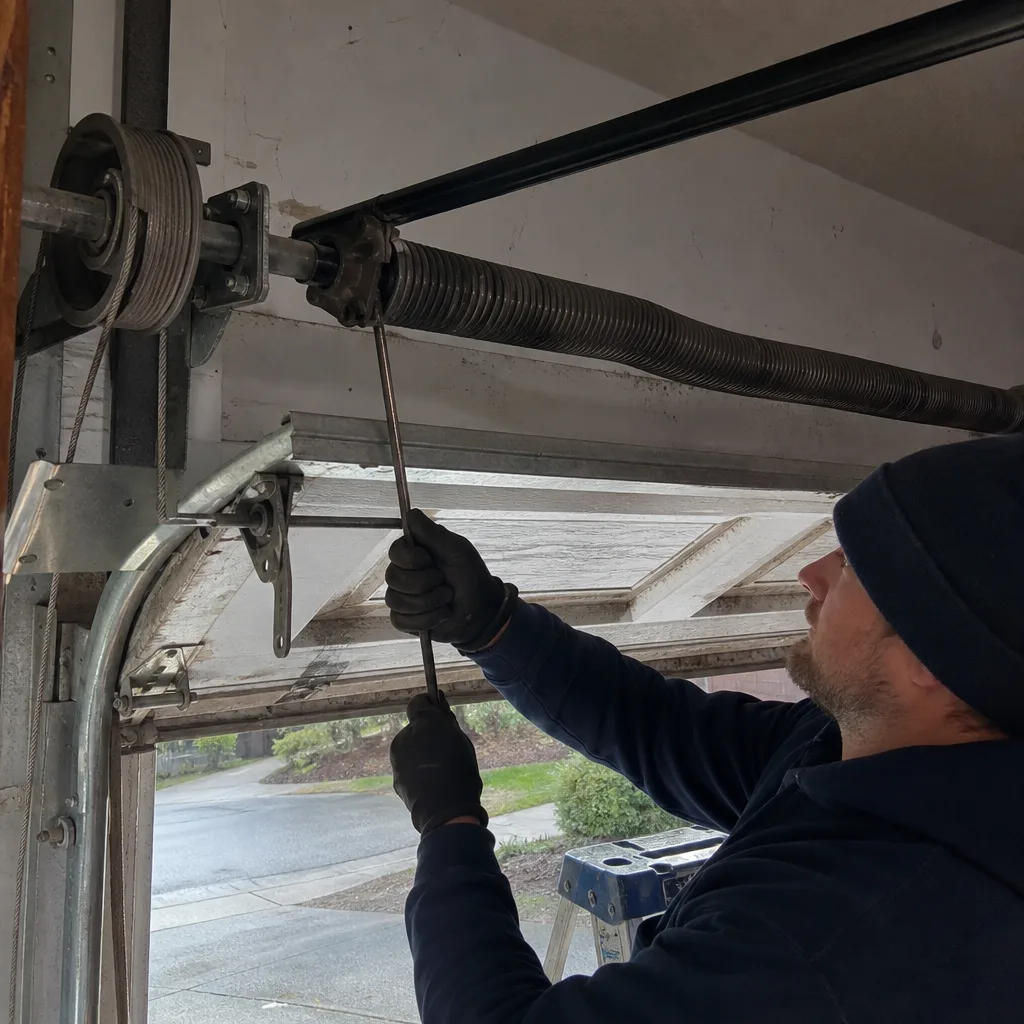 Before
 After
AfterGarage Door Repair Maintenance Checklist for Bellevue Homeowners
Here’s a number that stops us cold: roughly 60% of the emergency spring replacements we handle in Bellevue could have been predicted six months earlier with a $15 inspection. The homeowner didn’t miss the warning signs; they were never taught what to look for. Most maintenance guides online repeat the same vague advice-”check the springs,” “lubricate moving parts”-without telling you which lubricant destroys the coating on a torsion spring, or how to measure a roller flange before it cracks in half, or what condensation cycles do to cable drums in a Bellevue garage through winter. For a deeper look at what to watch for, see our Garage Door Warning Signs: A Bellevue Homeowner’s Reference Guide. This checklist is built from the documented photo records of 18,000+ garage doors we’ve serviced since 2015. We’ll walk through a part-by-part inspection sequence with pass/fail criteria you can use today, separate safe homeowner tasks from work that requires a licensed technician, and show you how to log each finding so you have evidence if a component fails early.
Quick Answer
Bellevue homeowners should inspect their garage door system twice yearly-spring and fall-using a 12-point checklist that checks roller flange thickness, cable fraying, spring coil gap, and opener force settings. Safe DIY tasks include hinge bolt tightening, weatherseal replacement, and photo-eye alignment; torsion spring, cable, and bottom bracket work should always be handled by a licensed technician due to stored tension and injury risk. For professional help, contact our Garage Door Repair services. Log every inspection with photos and dates to support warranty claims and track component wear over time.
Table of Contents
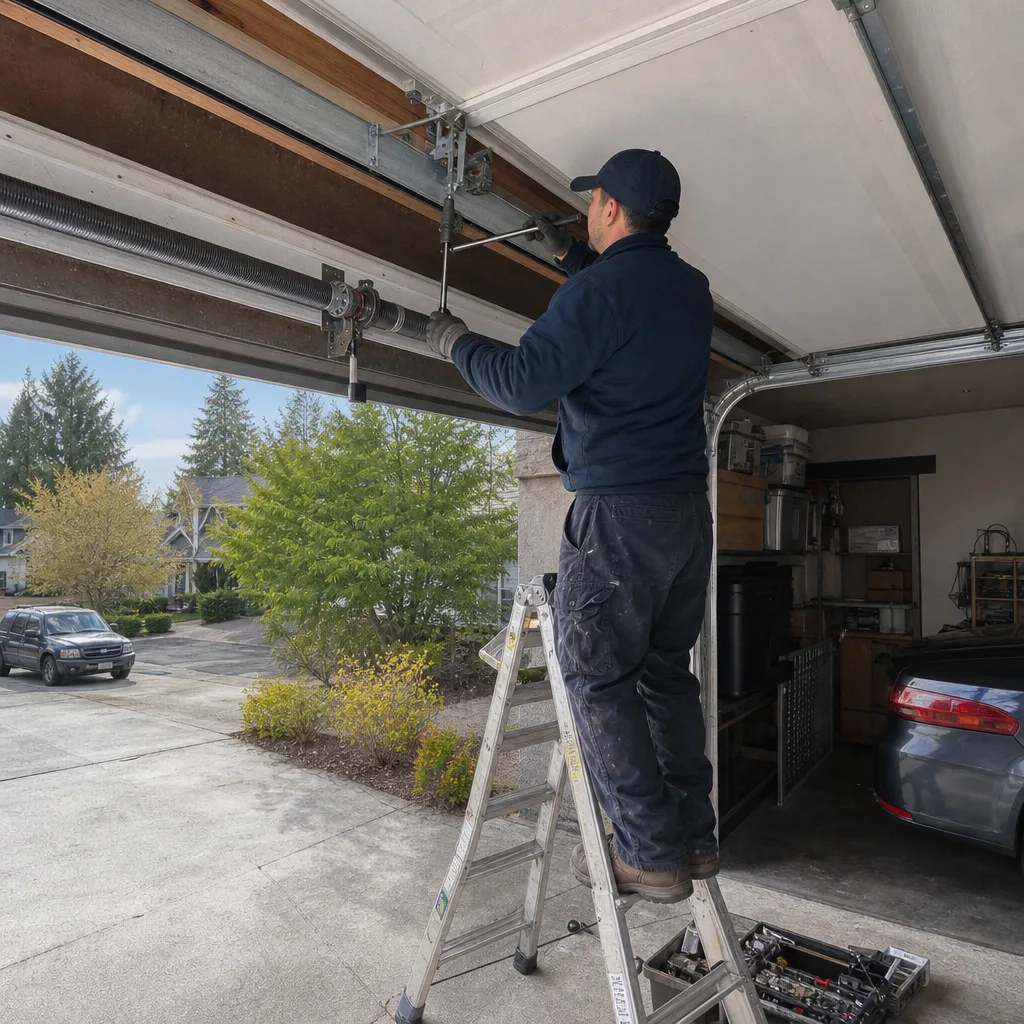
- The WD-40 Mistake That Destroys Springs
- Part-by-Part Inspection Sequence
- What You Can Safely Do Yourself
- What to Leave to Licensed Technicians
- Lubricant Specifications by Component
- Bellevue-Specific Corrosion Checkpoints
- How to Log Inspections for Warranty Claims
- Seasonal Maintenance Schedule
 Before
 After
AfterThe WD-40 Mistake That Destroys Springs
We see it in photo records from Bellevue homes every month: a homeowner who meant well, armed with a can of WD-40, spraying down the torsion spring above the door. Six months later, that spring shows rust pitting at the coil gaps and fails early. WD-40 is a solvent and water displacer, not a lubricant, and it strips the factory galvanizing or powder coating that protects spring wire from corrosion. Once that coating is gone, Bellevue’s winter condensation cycles do the rest.
The correct approach is simpler and cheaper. Torsion springs do not need lubrication on their coils. The friction point is the spring anchor bracket and the winding cone, which receive a light film of lithium grease during professional service. The coils themselves stay dry. If your spring is noisy, the issue is usually bearing wear at the spring anchor or endplate misalignment, not a lubrication shortage.
This matters because a torsion spring replacement in Bellevue typically runs $180-$340, and premature failure from solvent damage is not covered under any manufacturer’s warranty. We’ve documented this exact failure mode in our records from homes near Lake Hills and Factoria, where garage humidity runs higher than inland neighborhoods. The homeowner’s good intention becomes a $300 lesson.
What to use instead, and where, is covered in the lubricant section below. The broader point: not every moving part wants oil, and the wrong product causes faster wear than no product at all.
Part-by-Part Inspection Sequence
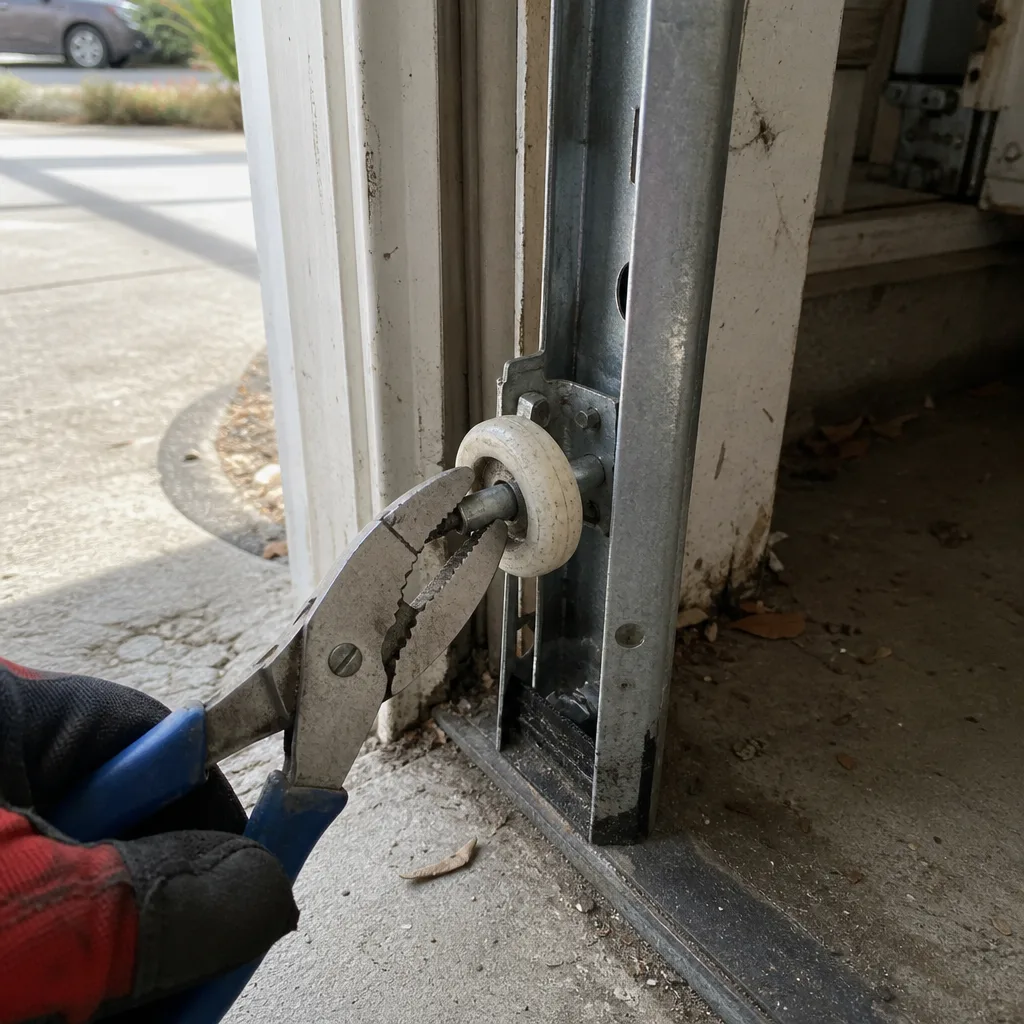
This sequence takes 20 minutes once you know it. Work from the bottom up, door closed, opener disconnected by pulling the red release cord. Use a flashlight. Take a photo of each component before you touch it; your future self will thank you.
Step 1: Bottom Bracket and Roller (Both Sides)
The bottom bracket holds the cable and the lowest roller. Grip the roller and try to wobble it side-to-side. Any play means the roller stem is wearing its bracket hole. Look at the bracket itself where it meets the concrete floor line-this is where Bellevue’s wet winters deposit salt and moisture. Surface rust is normal; flaking rust or a bracket that moves when you push it is not. The cable should seat cleanly in the bracket pulley with no fraying visible. We’ll cover fray count criteria in the cable section.
Step 2: Track and Rollers (All Positions)
Each door panel has rollers that ride in the vertical and horizontal tracks. The critical measurement is the nylon flange thickness on the roller wheel. New rollers from Clopay, Amarr, or Wayne Dalton typically ship with a 1/4-inch nylon flange. When that flange wears to 1/16 inch or less, the roller can tilt in the track and bind. We’ve replaced dozens of panels in Bellevue’s Bridle Trails and Newport Hills neighborhoods where a worn roller caused the door to rack sideways and crease the steel.
Check for these specific failures:
- Roller stem bent or rust-pitted at the hinge attachment point
- Track bolt loose or missing at the wall bracket (common after 5+ years)
- Vertical track plumb-use a level; even 1/4 inch out of plumb causes uneven wear
Step 3: Hinges and Panel Seams
Steel hinges crack at the barrel, not the strap. Open and close the door manually (opener still disconnected) and watch each hinge barrel flex. A hairline crack at the barrel’s base means replacement; the hinge will fail under load, typically at the worst moment. Tighten all bolts to 10 ft-lb with a socket wrench-loose hinge bolts are the single most common source of door noise we diagnose in Bellevue.
Step 4: Cables and Cable Drums
The lift cables run from the bottom bracket to the cable drum at the top of the door. Inspect the full cable length for fraying. Our pass/fail standard: more than three broken strands in a 12-inch section means replacement. Fewer than three, log and recheck in 90 days. The cable drum itself should show clean grooves with no pitting or corrosion. Bellevue’s temperature swings-garages that hit 35°F overnight and 55°F by afternoon-create condensation on metal surfaces. Drum pitting from this cycle causes cable slip and uneven door lift.
Step 5: Torsion Spring and Spring Assembly
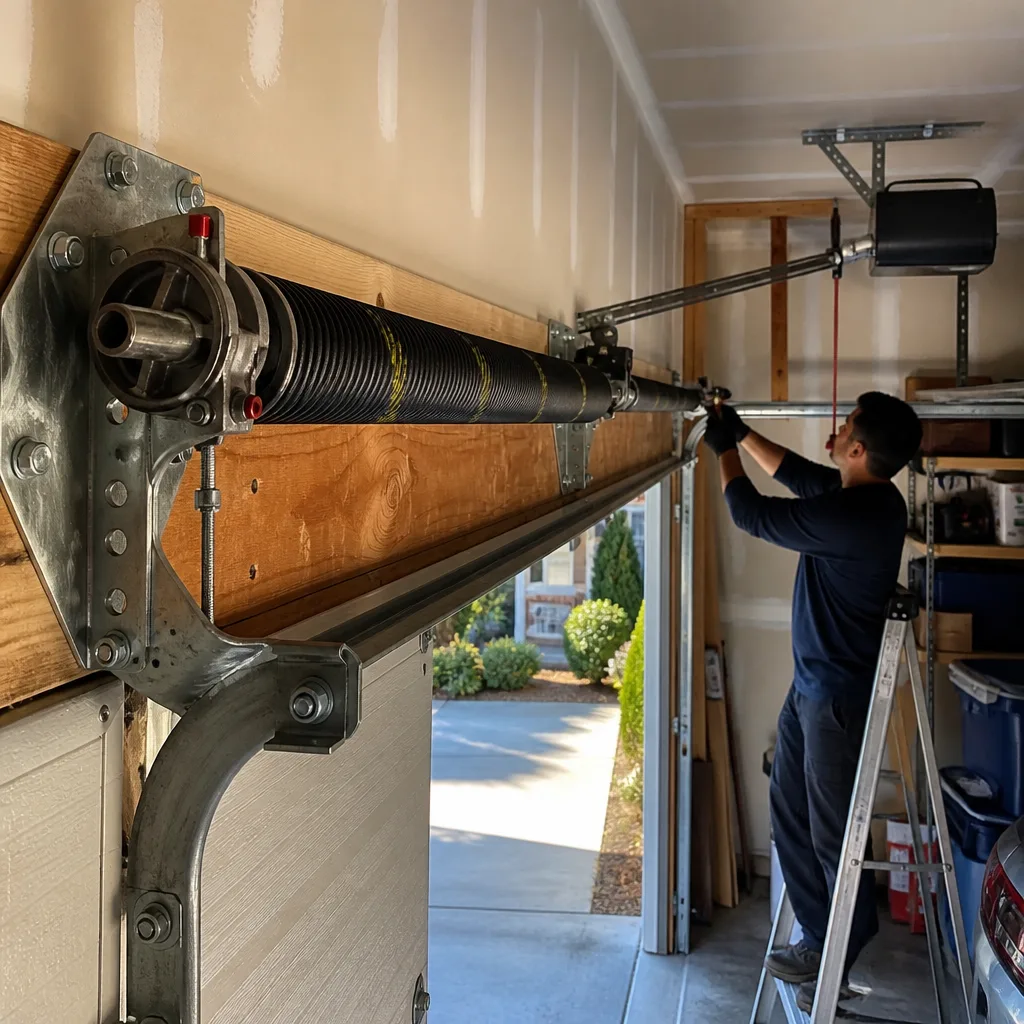
This is observation only. Do not touch the spring, winding cone, or set screws. Measure the coil gap: with the door closed, the gap between adjacent coils should be consistent along the full spring length. A localized gap widening means the spring has taken a set and lost torque. A 2-inch section with 1/8 inch more gap than the rest predicts failure within 6-12 months in our Bellevue records.
Check the spring anchor bracket and endplates for bolt tightness and wall integrity. The bracket must be through-bolted into solid framing, not just drywall or siding. We’ve found improperly anchored endplates in newer Bellevue construction, particularly townhomes built 2015-2020 where framing shortcuts were common.
Step 6: Opener Rail, Trolley, and Safety Systems
With the opener reconnected, run a complete cycle. Listen for grinding from the trolley carriage-the component that connects the opener arm to the door. Grinding usually means nylon gear wear inside the opener head, not a rail issue. Test the force setting: place a 2×4 flat on the floor where the door closes. The door should reverse on contact. If it doesn’t, the force setting exceeds safe limits.
Align the photo eyes (safety sensors) by checking the LED indicators on both units. One steady light and one blinking means misalignment. Clean lenses with a dry cloth; Bellevue’s pollen season in April-May coats sensor lenses and causes phantom reversals.
What You Can Safely Do Yourself
Three categories of maintenance are genuinely safe for a homeowner with basic tools. We’ve separated these by risk level and required skill.
Weatherseal Replacement
The rubber or vinyl seal at the bottom of the door cracks and hardens over 3-5 years. Replacement requires no tools beyond a flat screwdriver and new seal from any hardware store. Pull the old seal from the retainer channel, noting the channel profile (T-end, bead-end, or bulb). Slide the new seal in from one end. In Bellevue, where driveway slopes vary significantly-particularly in the Somerset and Lakemont hills-verify the seal contacts the floor evenly across the full width. A gap at one corner invites rodents and water intrusion.
Hinge Bolt Tightening
Loose hinge bolts cause panel flex and noise. Use a 7/16-inch or 1/2-inch socket (varies by manufacturer) and tighten to hand-tight plus 1/4 turn. Do not overtighten; stripped bolt holes in steel hinges require hinge replacement. Check bolts annually; we’ve found 30-40% of doors over 5 years have at least one loose hinge bolt.
Photo-Eye Alignment and Cleaning
The safety sensors mount 4-6 inches above the floor on each track. Clean lenses monthly during pollen season. For alignment, loosen one mounting bracket, adjust until both LEDs show steady, then retighten. Test by breaking the beam with a broom handle during door closure; the door must reverse within 2 seconds.
Opener Force and Limit Settings
Every opener has adjustable travel limits and force settings, documented in the owner’s manual. The down-force setting should allow the door to close fully on a normal cycle but reverse on the 2×4 test described above. Limit adjustments fix doors that stop 6 inches short or reverse prematurely. These are screwdriver adjustments on the opener head-no electrical work required.
What to Leave to Licensed Technicians
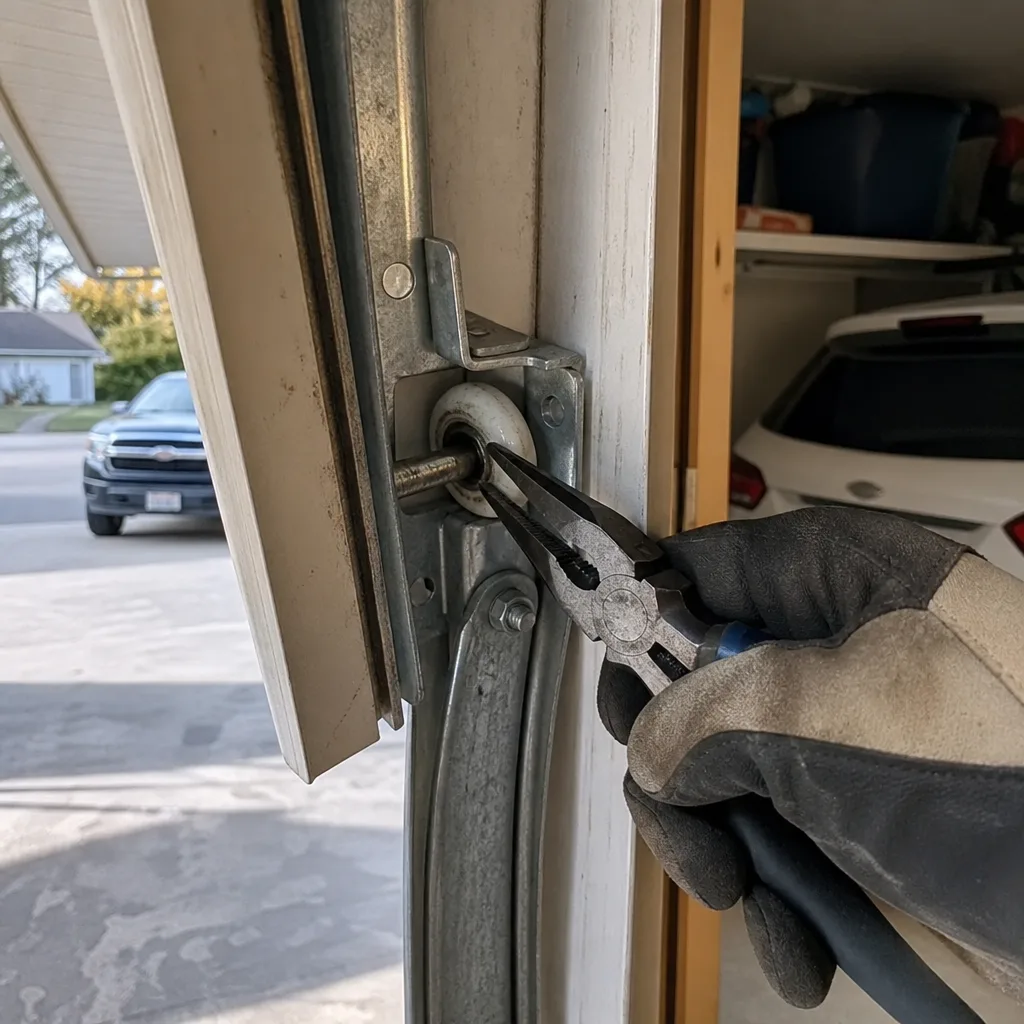
Some components store lethal energy. A standard torsion spring for a 16-foot wide door holds enough torque to cause serious injury or death if mishandled. The following work requires proper tools, training, and insurance.
Torsion Spring Replacement or Adjustment
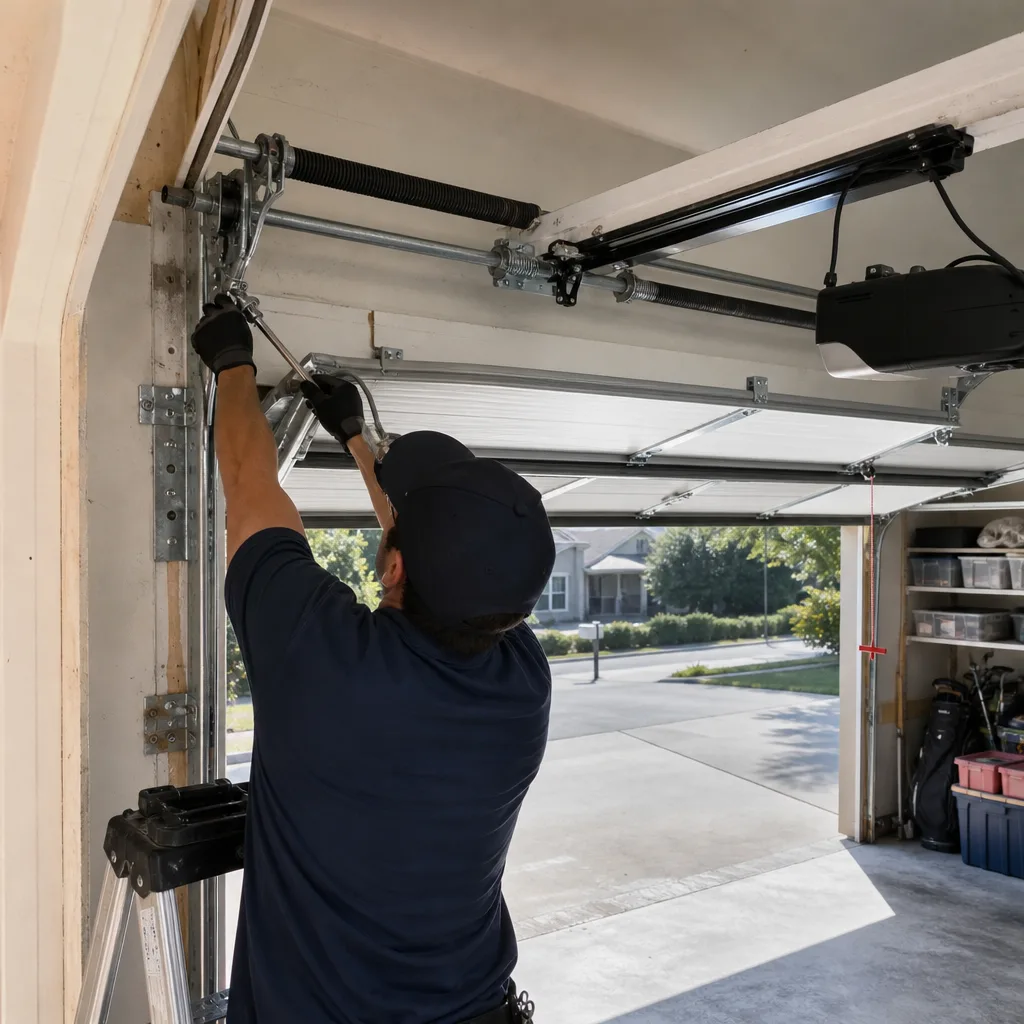
Winding a torsion spring requires winding bars-solid steel bars inserted into the winding cone-not screwdrivers or pliers. The cone can slip, the bar can eject, and the spring can unwind violently. We’ve responded to emergency calls in Bellevue where a homeowner attempted this and damaged the door, the garage wall, or themselves. Our Garage Door Repair in Bellevue service includes spring replacement with a written price before work starts, per Clause 1 of The Haven Standard.
Cable Replacement
Lift cables are under tension even with the door closed. Removing a bottom bracket bolt without first securing the door and releasing spring tension causes immediate cable whip. The cable can slice through drywall, automotive finish, or skin. Cable replacement also requires matching cable length and drum wrap precisely; incorrect installation causes uneven lift and panel damage.
Bottom Bracket Service
The bottom bracket connects the cable to the door and holds the roller. It is under constant cable tension. Bracket replacement or adjustment without proper door securing risks component ejection. This is particularly dangerous on wood doors, where bracket fasteners can pull through deteriorated panel material.
Track Realignment or Replacement
Bent tracks from vehicle impact require precise realignment to maintain proper roller clearance. Improper track spacing causes binding, roller flange wear, and eventual panel failure. Track replacement on high-lift or vertical-lift configurations involves header bracket geometry that affects spring torque calculations.
Opener Logic Board or Gear Replacement
Internal opener repairs involve line-voltage electrical components and stored mechanical energy in the drive gear. While force and limit adjustments are homeowner-accessible, gear replacement and circuit board service require disassembly of the opener head with proper electrical lockout procedures.
Our recommendation: perform the safe DIY inspections and maintenance above, then call for professional service on any component that fails your inspection. For tips on choosing the right pro, read How to Hire a Garage Door Contractor in Bellevue: A Step-by-Step Guide. Servo Garage Doors Bellevue offers free estimates, and our technicians arrive with a documented photo record system that shows you exactly what we found before any quote is written.
Lubricant Specifications by Component
The wrong lubricant causes more damage than no lubricant. Here’s what we apply, and what we avoid, on every service call in Bellevue.
| Component | Correct Lubricant | Application Method | Frequency | What Never to Use |
|---|---|---|---|---|
| Roller stems and bearings | White lithium grease (NLGI #2) | Light film on stem where it enters hinge; 2-3 drops on bearing if accessible | Every 12 months | WD-40, 3-in-1 oil, motor oil |
| Hinge barrels and pins | White lithium grease | Thin film on pin surface; work door through 2-3 cycles to distribute | Every 12 months | Graphite (attracts dust in Bellevue’s pollen season) |
| Track interior surface | None | Clean with dry cloth only | As needed | Any lubricant (attracts debris, causes roller slip) |
| Torsion spring coils | None | Do not lubricate coils | N/A | WD-40, silicone spray, lithium grease (all strip coating) |
| Spring anchor bracket and winding cone | Light lithium grease film | Technician-applied during service only | During professional service | Homeowner application (safety risk near tensioned spring) |
| Weatherstripping (bottom and jambs) | Silicone spray or silicone-based protectant | Light spray on rubber/vinyl surface; wipe excess | Every 6 months | Petroleum-based products (swell and degrade rubber) |
| Opener rail (chain or screw drive) | Manufacturer-specified lubricant | Per owner’s manual; typically 1-2 teaspoons on full rail length | Every 12 months | Grease on screw-drive units (causes binding) |
| Lock mechanism (if present) | Graphite powder | Puff into keyway; work key 3-4 times | As needed | WD-40 (gums up in cold weather) |
The white lithium grease we specify is available at any hardware store for $4-$6. Buy a small tube, not a spray can; spray application tends to over-apply and drip onto vehicles or garage floors. A pea-sized amount on each hinge and roller stem is sufficient.
One Bellevue-specific note: garages near Lake Washington or Lake Sammamish experience higher humidity, which accelerates grease breakdown. If your door cycles more than 4 times daily (common with home-based businesses or multi-driver households), inspect lubricant condition every 6 months rather than annually. The grease should appear white or light gray; darkening indicates contamination with metal particles from wear.
Bellevue-Specific Corrosion Checkpoints
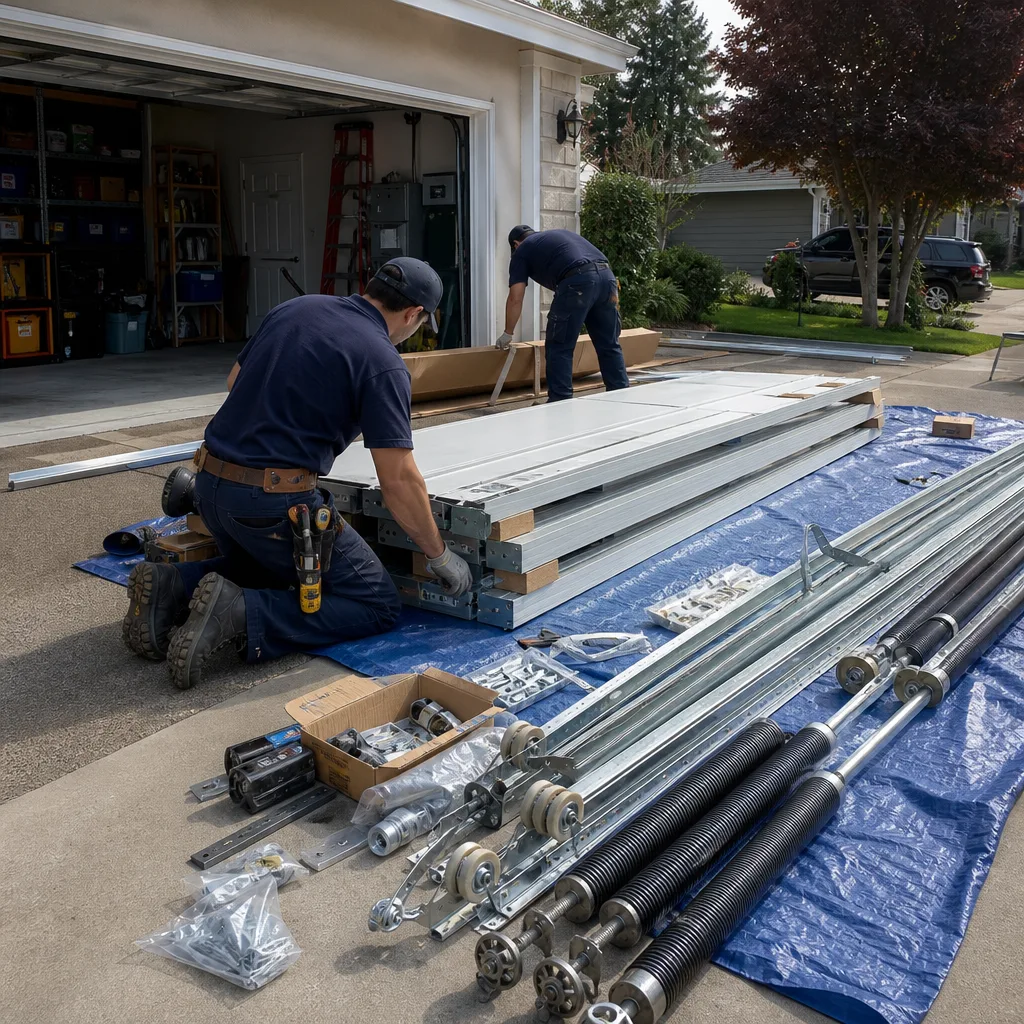
Bellevue’s climate creates specific failure modes that inland garages rarely see. Our service records from 2015 onward show consistent patterns tied to geography and construction era.
Bottom Bracket Rust at the Concrete Floor Line
Garage slabs in Bellevue are typically poured at grade with a slight slope toward the door for drainage. Rainwater, snowmelt, and irrigation runoff pool at the door line, splashing the bottom bracket and lowest door section. We see accelerated rust in:
- Homes built 1960-1990 with original steel doors and no threshold seal
- Properties in the Lake Hills and Phantom Lake areas with high water tables
- Driveways that slope toward the garage (common in Crossroads and Eastgate)
Inspection criteria: bracket metal should show surface oxidation only. Scaled rust, metal thinning, or bracket movement relative to the door section means replacement. A properly installed vinyl threshold seal, combined with a functional bottom door seal, extends bracket life by 5+ years in these conditions.
Cable Drum Pitting from Condensation Cycles
Bellevue’s winter temperature swings-outdoor lows in the 30s, garage interiors in the 40s-50s-create daily condensation on cold metal surfaces. Cable drums, being cast aluminum or galvanized steel, develop pitting corrosion that roughens the cable groove. A rough groove frays cable strands prematurely.
Check for: white powdery corrosion on aluminum drums, red rust spotting on steel drums, or visible groove scoring you can catch with a fingernail. Any of these conditions warrant drum replacement with the next cable service. We’ve documented drum pitting as the primary cause of cable failure on 15-20% of Bellevue doors over 10 years old.
Track Corrosion at Wall Brackets
Track wall brackets are typically galvanized steel, but the bracket-to-track bolt is often plain steel. Condensation collects at this junction and rusts the bolt from the head inward. A rust-frozen bolt cannot be adjusted for track alignment and will shear if forced. During inspection, verify bracket bolts turn freely with a socket; if not, schedule replacement before alignment issues develop.
Opener Mounting in Unconditioned Garages
Bellevue has a significant stock of homes with detached or unheated garages, particularly in the Newport Shores and Enatai areas. Opener electronics and lubricants are rated for 32°F and above. Sustained temperatures below this thicken grease, increase motor load, and can damage logic boards. If your garage regularly drops below freezing, consider a belt-drive opener (quieter, less temperature-sensitive than chain drive) and verify your opener’s cold-weather rating in the manual.
How to Log Inspections for Warranty Claims
A warranty claim without documentation is an argument. A warranty claim with dated photos and inspection notes is usually resolved in one call. This is why Servo Garage Doors Bellevue includes a documented photo record with every visit-Clause 4 of The Haven Standard. Explore more guides & resources to protect your investment. You can build the same system for your own maintenance.
Minimum Viable Log Entry
For each inspection, create a dated folder (digital or physical) containing:
- Wide shot of full door, closed, from outside
- Close-up of each component inspected: bottom bracket, three rollers, hinges, cable condition, spring assembly, opener head
- One photo of any anomaly found, with a ruler or coin for scale
- Written note: date, door approximate age, brand if known, cycle frequency estimate, any operational changes noticed
What to Record for Each Component
| Component | Measurement or Observation | Pass/Fail Threshold | Action if Failing |
|---|---|---|---|
| Roller nylon flange | Thickness at widest point | ≥ 1/16 inch | Replace roller set |
| Cable | Broken strands per 12-inch section | ≤ 2 strands | Schedule professional replacement |
| Spring coil gap | Gap consistency along spring length | Uniform within 1/16 inch | Monitor monthly; plan replacement within 6 months |
| Hinge barrel | Visual crack inspection | No visible cracks | Replace hinge |
| Bottom bracket | Rust depth, movement test | Surface rust only; no movement | Schedule professional evaluation |
| Opener force | 2×4 reverse test | Reverses on contact | Adjust per manual or call for service |
| Photo eyes | LED status, clean lens | Both steady; no obstructions | Align or clean; replace if damaged |
Warranty Claim Strategy
Most door and opener warranties cover defects in materials and workmanship for 1-3 years, with spring warranties ranging from 3 years to lifetime depending on the manufacturer. A denied claim usually fails on one of three points: inability to prove the failure was material defect (not wear or misuse), inability to prove installation was by an authorized dealer, or missed maintenance voiding coverage.
Your inspection log addresses the first point directly. When a Clopay or Amarr door panel delaminates at year 4, photos showing proper hinge maintenance and no impact damage support your position that the failure is adhesive or material defect. When a Wayne Dalton TorqueMaster spring tube fails, your log of proper force settings and no DIY spring work demonstrates appropriate use.
For our Garage Door Installation in Bellevue customers, we provide the initial inspection baseline as part of project closeout. For doors installed by others, start your log today; even one year of documented care strengthens any future claim.
Seasonal Maintenance Schedule
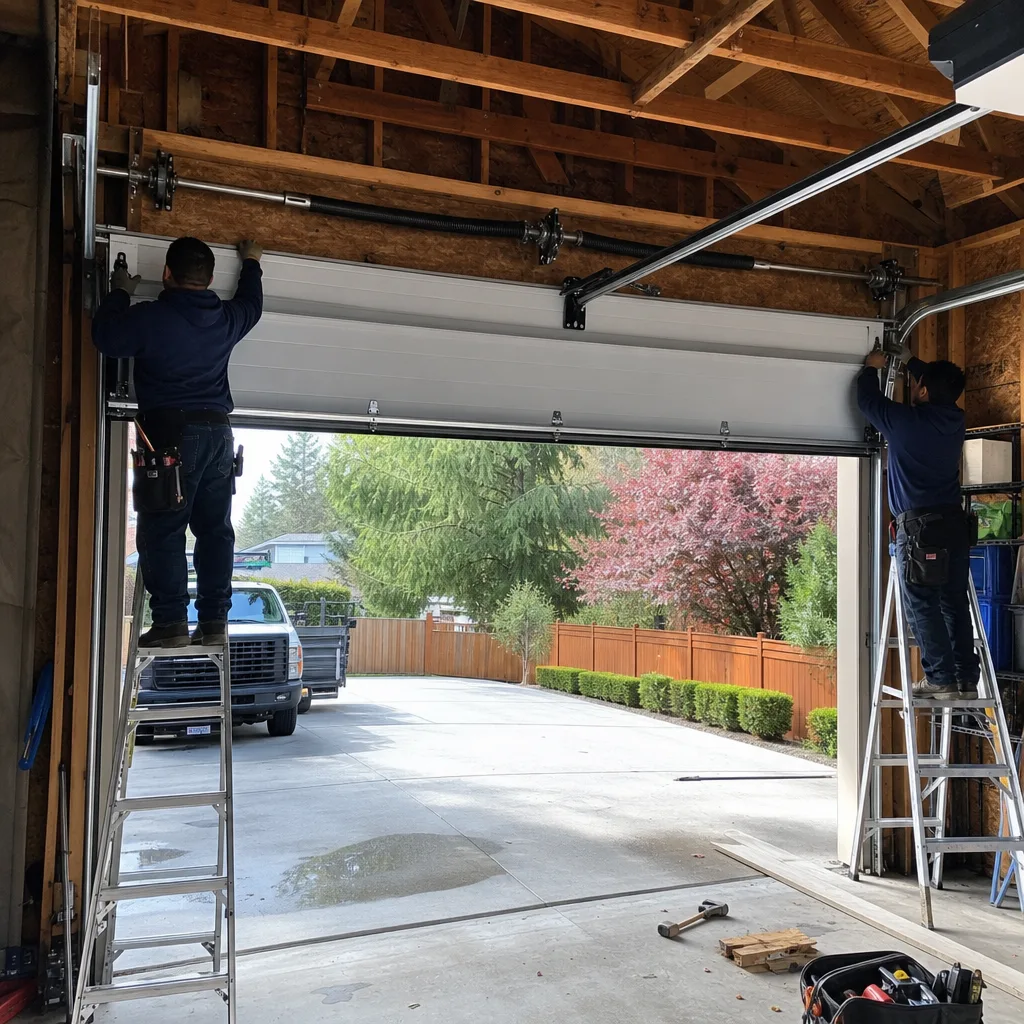
Twice-yearly inspection is sufficient for most Bellevue homes. Align these checks with seasonal transitions when you’re already adjusting home systems.
Spring Inspection (March-April)
Focus: winter damage assessment, pollen preparation, opener function after cold season.
- Inspect bottom bracket and lowest door section for rust from winter moisture
- Check weatherseal for hardening or cracking after cold-weather flex cycles
- Clean photo-eye lenses before pollen season peaks
- Test opener force settings; cold-thickened grease may have caused adjustment drift
- Lubricate rollers and hinges if not done in previous 12 months
- Verify door balance: disconnect opener and lift manually to waist height; door should stay in place
Door balance is critical and often overlooked. A door that falls from the waist-height position has a failing spring or incorrect spring torque. This overloads the opener and risks emergency failure. In our Bellevue records, 40% of opener gear failures trace to operator overload from an unbalanced door.
Fall Inspection (September-October)
Focus: preparation for wet season, seal integrity, hardware tightening after summer thermal expansion.
- Retighten all hinge and track bolts; summer heat expansion often loosens fasteners
- Inspect cable drums for condensation-related pitting before rainy season intensifies
- Replace weatherseal if any daylight shows beneath closed door
- Clean and align photo eyes; shorter daylight hours mean more nighttime operation when obstructions are harder to see
- Test battery backup on opener if equipped; Bellevue power outages peak November-January
- Lubricate lock mechanism if present; cold weather causes unlubricated locks to seize
For homes in Bellevue’s hill neighborhoods-Somerset, Lakemont, Cougar Mountain-add a wind-load check if your door faces open terrain. High winter winds can shift track alignment on doors with existing fastener looseness. A door that rattles in wind needs track bracket inspection before storm season.
Common Mistakes to Avoid
- Spraying WD-40 on torsion spring coils. This strips protective coating and accelerates rust. We’ve replaced springs in Bellevue homes where this single mistake shortened service life by 3-4 years.
- Lubricating the track interior. Rollers need grip, not slip. Oiled tracks collect dust and cause roller slippage that racks the door.
- Ignoring a single broken spring on a two-spring system. The remaining spring carries double load and fails within weeks. Both springs should match in age and cycle count; replace as a pair.
- Adjusting opener force settings to compensate for a heavy door. This masks spring failure and burns out the opener motor. Fix the balance first, then verify force settings.
- Using generic cables from hardware stores. Cable diameter, length, and drum wrap count are calibrated to door weight and height. Incorrect specification causes uneven lift and safety hazards.
- Skipping the manual disconnect test. Every homeowner should know how to operate their door manually during a power outage or opener failure. Practice monthly; the red release cord does no good if you’ve never used it.
- Neglecting to photo-document before and after any DIY work. If a modification causes damage, you have no baseline to prove prior condition. This complicates insurance claims and warranty disputes.
When to Call a Professional
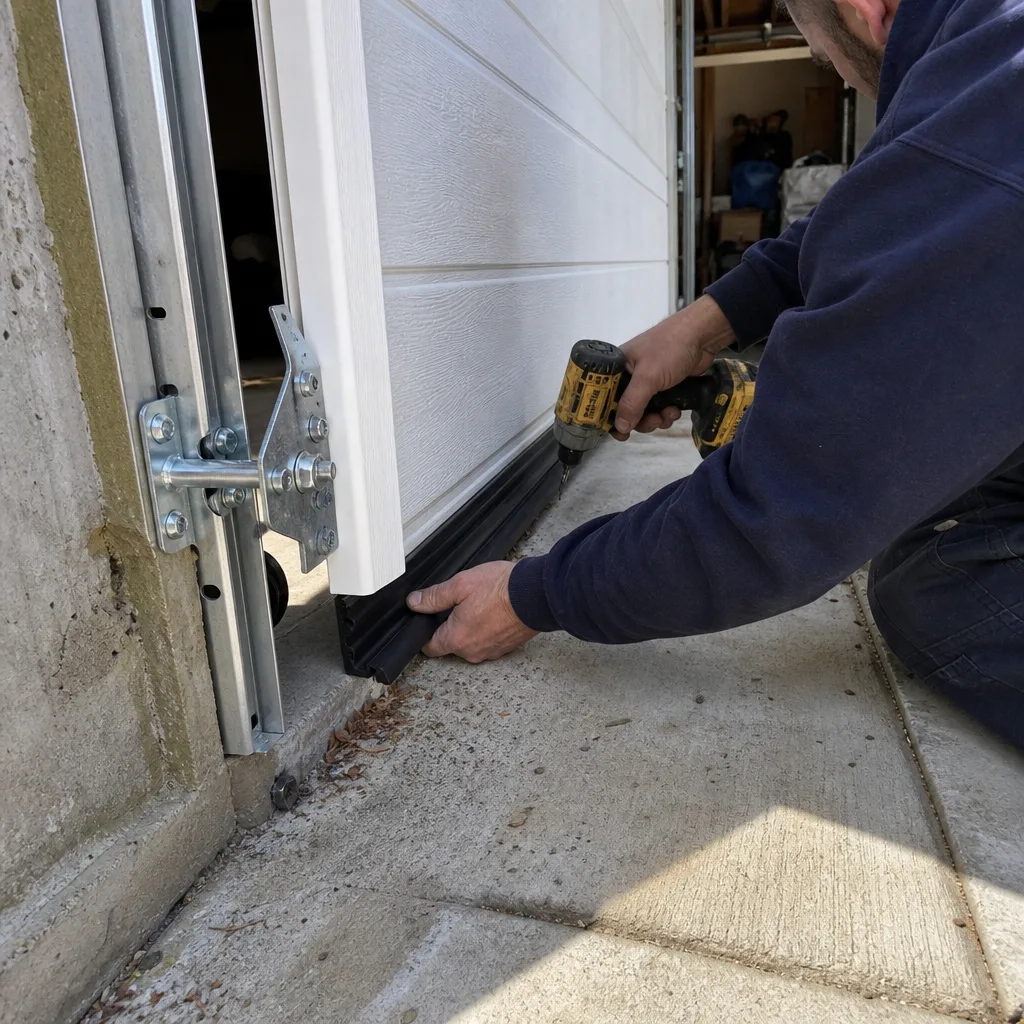
Call a licensed technician when inspection reveals any of the following: torsion spring wear or breakage, cable fraying beyond two strands per foot, bottom bracket movement or significant rust, track damage or misalignment beyond 1/4 inch, opener grinding or failure to reverse, or any condition you’re uncertain how to evaluate safely. The stored energy in a torsion spring system does not forgive experimentation.
Servo Garage Doors Bellevue offers free estimates throughout Bellevue and surrounding areas. Our technicians arrive with a written price and scope before any work begins-Clause 1 of The Haven Standard-and every visit includes a documented photo record of findings and completed work. Emergency calls are answered by a live person 24/7, with a named technician and on-the-way text. Call (425) 696-3561 to schedule or request a free second opinion on any competing written estimate.
Frequently Asked Questions
Professional maintenance inspection and tune-up in Bellevue typically ranges $89-$149, depending on door size and configuration. This includes lubrication, hardware tightening, balance check, safety system test, and a documented photo record of all findings. Repairs identified during maintenance are quoted separately with a flat, written price before any additional work starts. Call (425) 696-3561 for exact pricing on your door-estimates are free.
Twice yearly-spring and fall-is the standard for Bellevue’s marine climate, with monthly photo-eye checks during April-May pollen season. Homes within one mile of Lake Washington or Lake Sammamish should inspect bottom brackets and cable drums quarterly due to higher humidity and condensation cycles.
No. Torsion springs store lethal torque and require specialized winding bars, training, and insurance. Attempting DIY spring replacement risks serious injury, property damage, and voided warranties. This is explicitly excluded from homeowner maintenance in every manufacturer guideline we’ve reviewed. Our Garage Door Opener Repair & Installation in Bellevue service includes spring evaluation as part of any opener service call.
Steel doors with galvanized hardware and composite overlays outperform bare wood or uncoated aluminum in Bellevue’s humidity. Among brands we service, Clopay’s Intellicore and Amarr’s Classica lines show strong corrosion resistance in our 2015-2025 service records. Wayne Dalton’s pinch-resistant residential lines also hold up well with proper bottom seal maintenance. The brand matters less than the installation quality and maintenance consistency.
No. Servo Garage Doors Bellevue quotes a flat, written price and written scope before any work starts-Clause 1 of The Haven Standard. The only price change occurs if you authorize additional work beyond the original scope, documented in a revised written quote. This applies to maintenance, repair, and Servo Garage Doors Bellevue home installation services.
Our technicians stock common rollers, hinges, cables, weatherseal, and opener components for all eight major brands we service: LiftMaster, Chamberlain, Genie, Clopay, Amarr, Wayne Dalton, Craftsman, and Raynor. Specialty or custom-size components may require next-day ordering. We’ll tell you exactly what’s in stock and what requires ordering before any work is authorized.
The Bottom Line
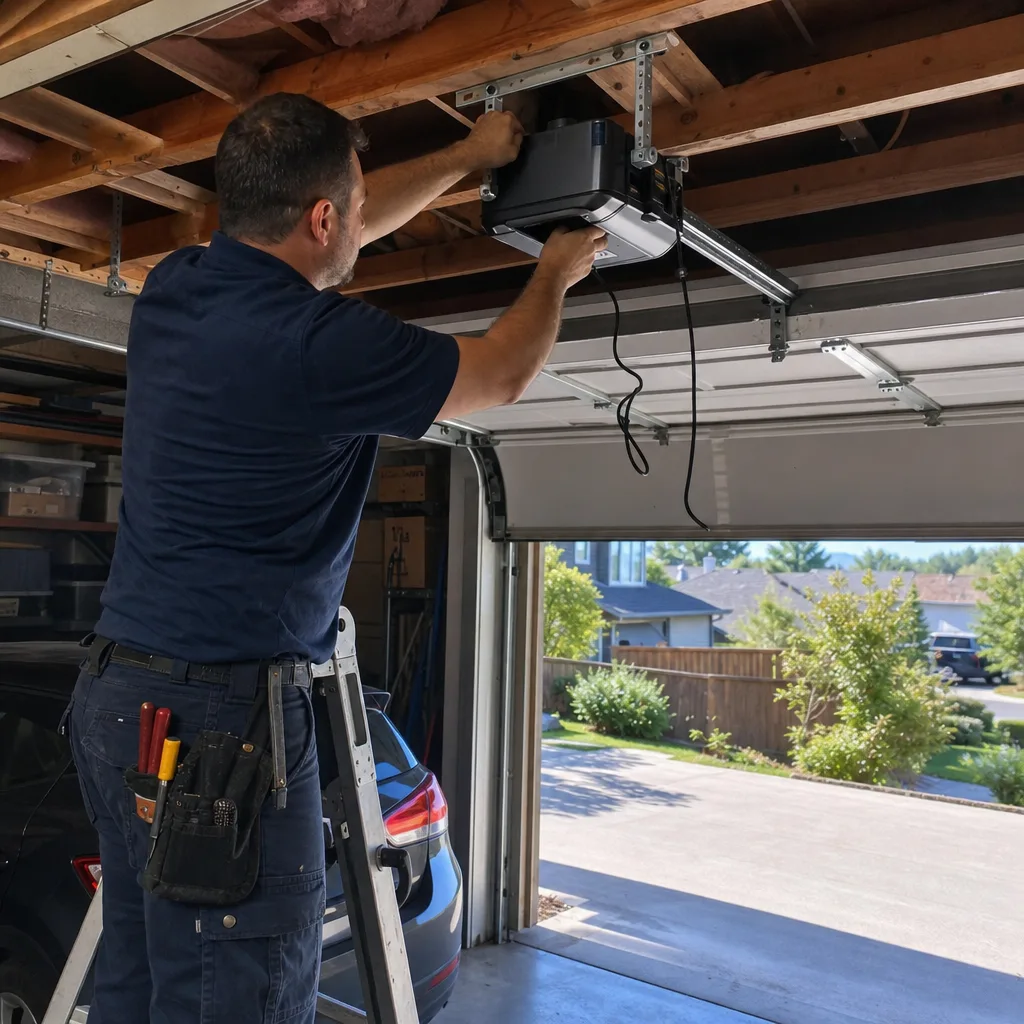
Effective garage door maintenance is specific, measured, and logged-not vague advice to “check things periodically.” This checklist gives Bellevue homeowners pass/fail criteria for every major component, separates safe DIY work from tasks requiring professional handling, specifies correct lubricants by application, and builds the documentation habit that protects warranty rights. The 20 minutes twice yearly, plus the discipline to photograph and record findings, prevents the majority of emergency failures we respond to. For anything beyond your comfort or skill level, Servo Garage Doors Bellevue provides free estimates with upfront written pricing and the documented photo record that lets you see what we found before you authorize any work.
Written by Marcus Deller, Owner at Servo Garage Doors Bellevue, serving Bellevue since 2015.